> For the complete documentation index, see [llms.txt](https://docs.mikopbx.com/mikopbx/llms.txt). Markdown versions of documentation pages are available by appending `.md` to page URLs; this page is available as [Markdown](https://docs.mikopbx.com/mikopbx/english/manual/maintenance/storage/minio.md).
# Connecting MinIO S3 Storage
Instructions for deploying and connecting local MinIO S3 to MikoPBX
This guide describes the process of deploying local MinIO S3 storage and connecting it to MikoPBX. All actions are performed on macOS - for other operating systems, the official documentation is available [at the link](https://docs.min.io/aistor/installation/).
### Installing MinIO on macOS
1. Open the terminal and run the command:
```bash
brew install minio/stable/minio
```
After the installation is complete, the terminal will display a confirmation:
```bash
🍺 /opt/homebrew/Cellar/minio/RELEASE.2025-09-06T17-38-46Z_1: 4 files, 108.2MB, built in 3 seconds
```
2. Create a directory for data.
```bash
mkdir -p ~/minio-data
```
3. Start the server:
```bash
MINIO_ROOT_USER=minioadmin MINIO_ROOT_PASSWORD=minioadmin \
minio server ~/minio-data --console-address ":9001"
```
You will see the following output with useful information, including the WebUI address for convenient further work with the storage.
MinIO Object Storage Server
Copyright: 2015-2026 MinIO, Inc.
License: GNU AGPLv3 - https://www.gnu.org/licenses/agpl-3.0.html
Version: RELEASE.2025-09-06T17-38-46Z (go1.24.6 darwin/arm64)

API: http://192.168.100.114:9000  http://192.168.64.1:9000  http://127.0.0.1:9000
   RootUser: minioadmin
   RootPass: minioadmin

WebUI: http://192.168.100.114:9001 http://192.168.64.1:9001 http://127.0.0.1:9001
   RootUser: minioadmin
   RootPass: minioadmin

CLI: https://docs.min.io/community/minio-object-store/reference/minio-mc.html#quickstart
   $ mc alias set 'myminio' 'http://192.168.100.114:9000' 'minioadmin' 'minioadmin'

Docs: https://docs.min.io
After starting, leave the terminal window open - closing it will stop the server.
> To start MinIO automatically when the system starts, run:
>
> ```bash
> brew services start minio/stable/minio
> ```
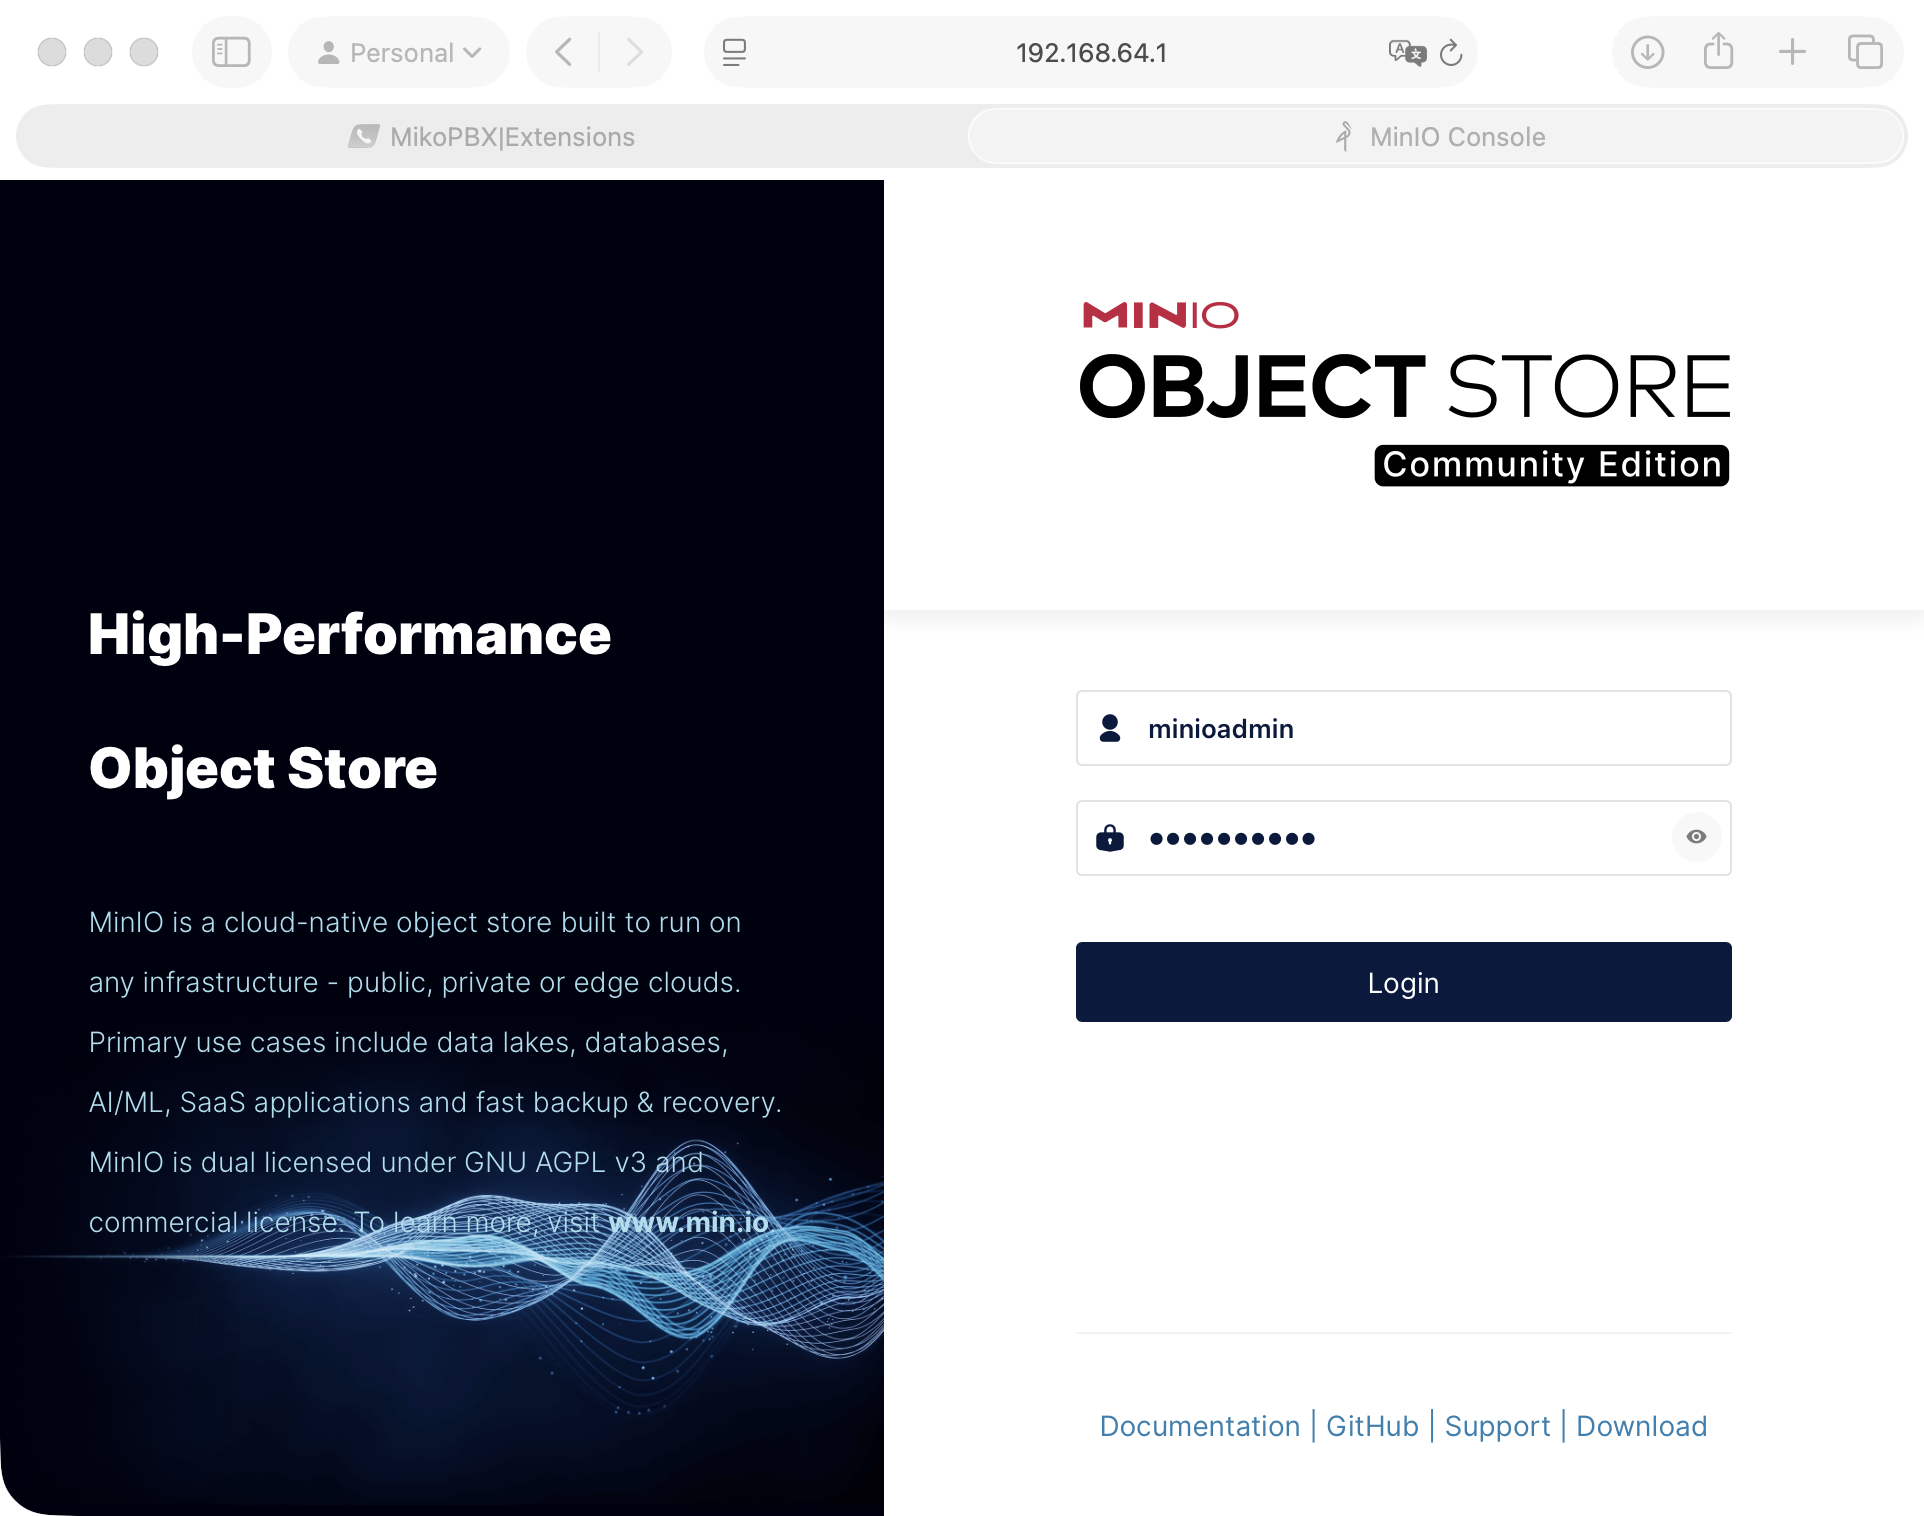
4. Open a browser and go to the WebUI address.
Enter the credentials:
* **Username:** `minioadmin`
* **Password:** `minioadmin`
MinIO web interface
### Creating a Bucket in MinIO
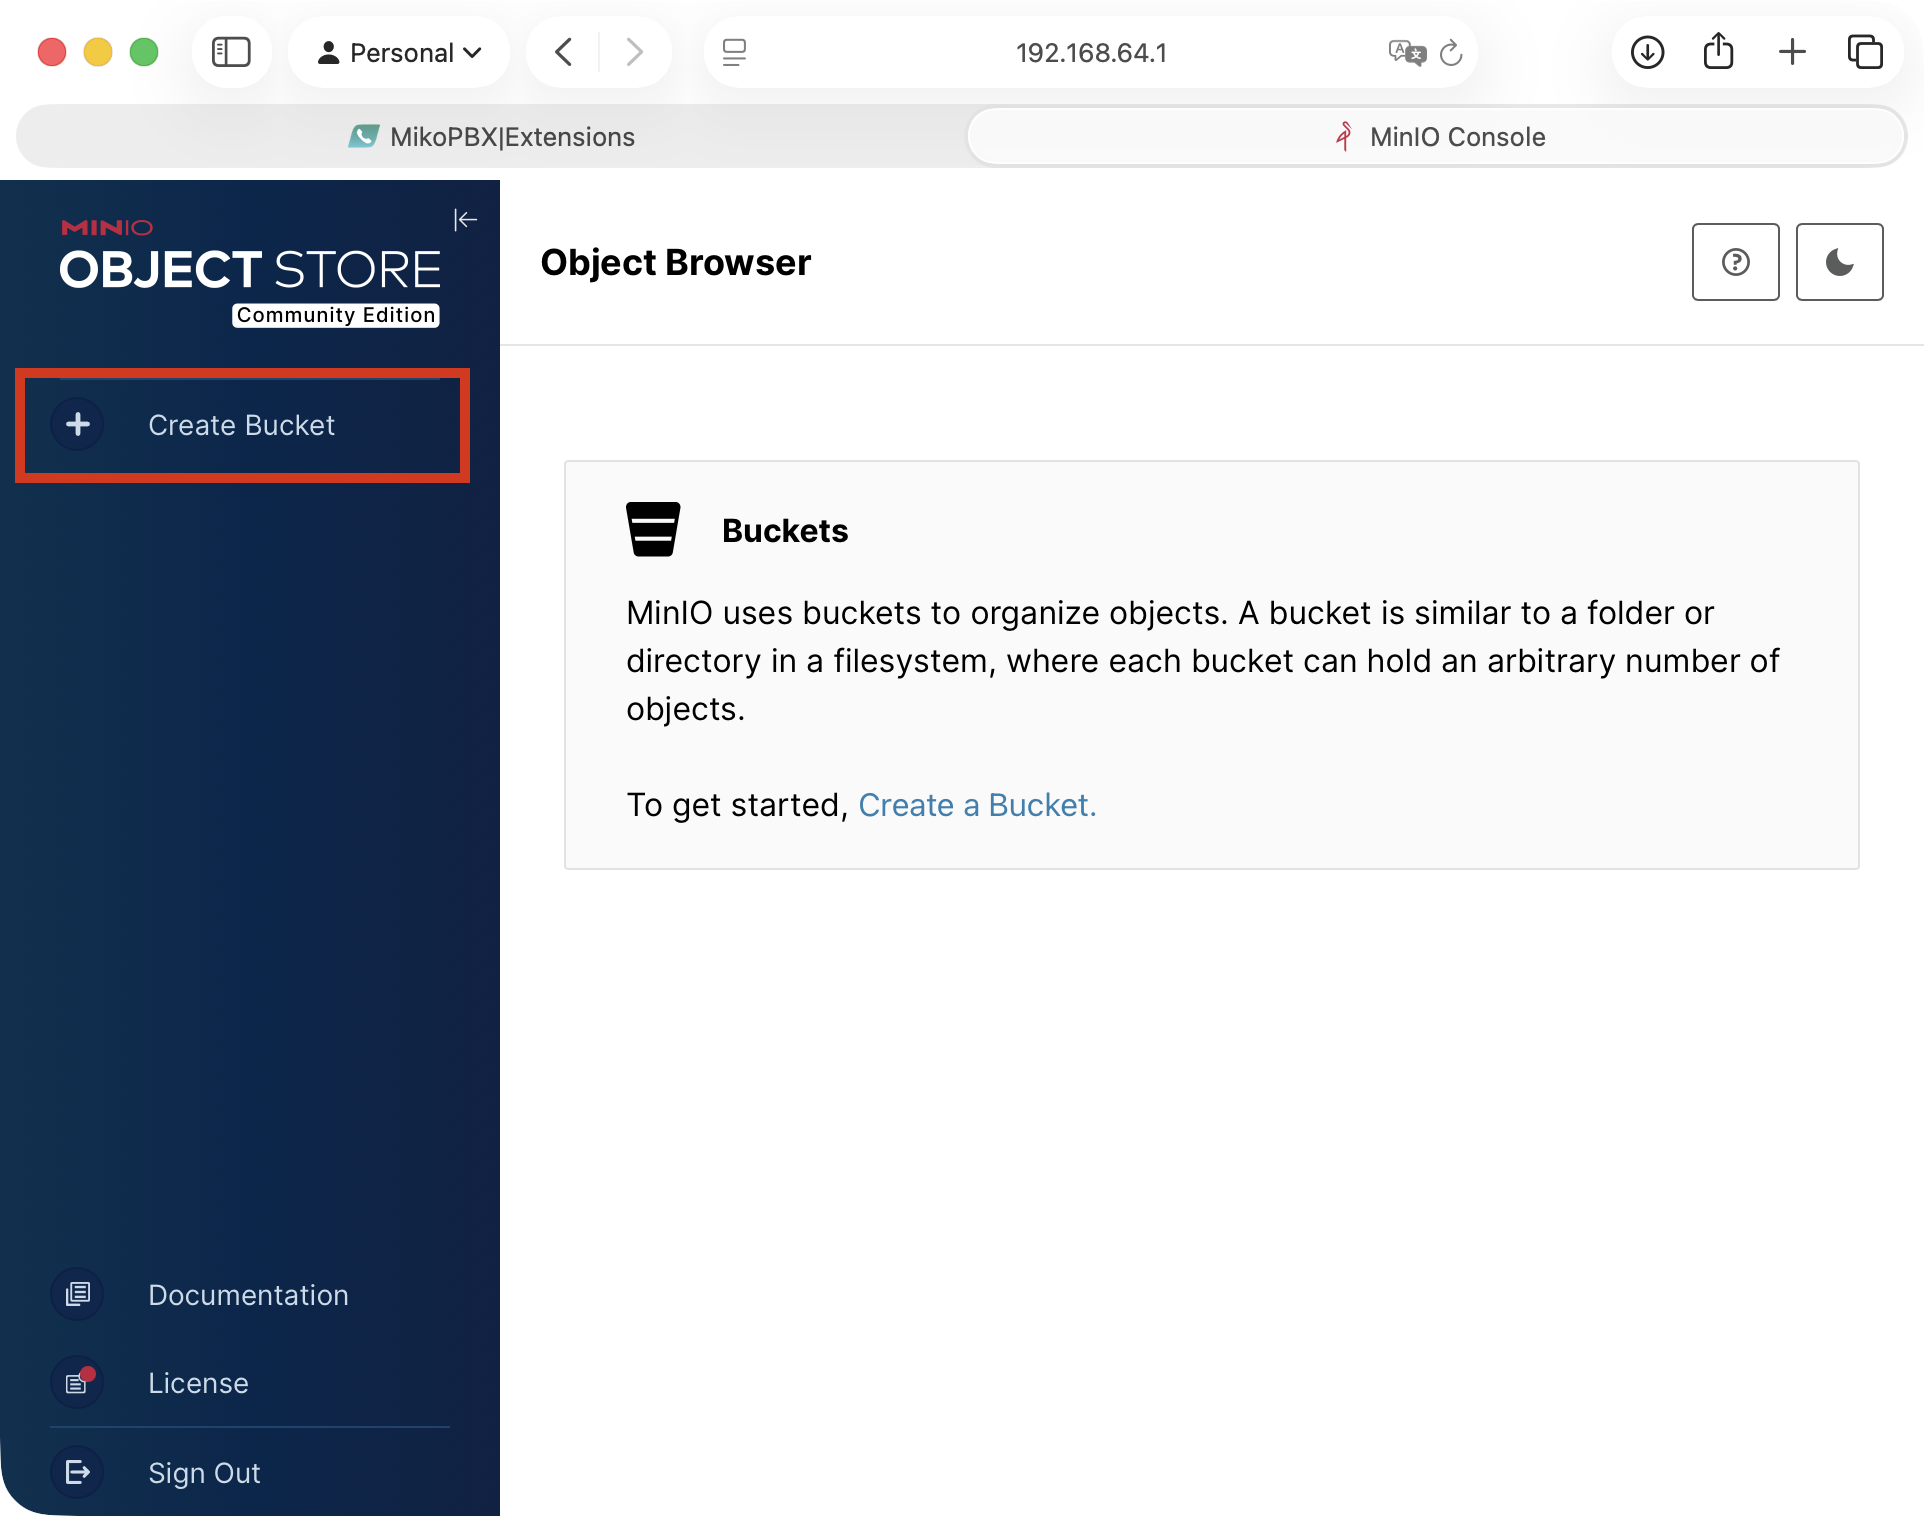
1. Click "**Create Bucket**" in the left menu.
"Create Bucket" button in the MinIO web interface
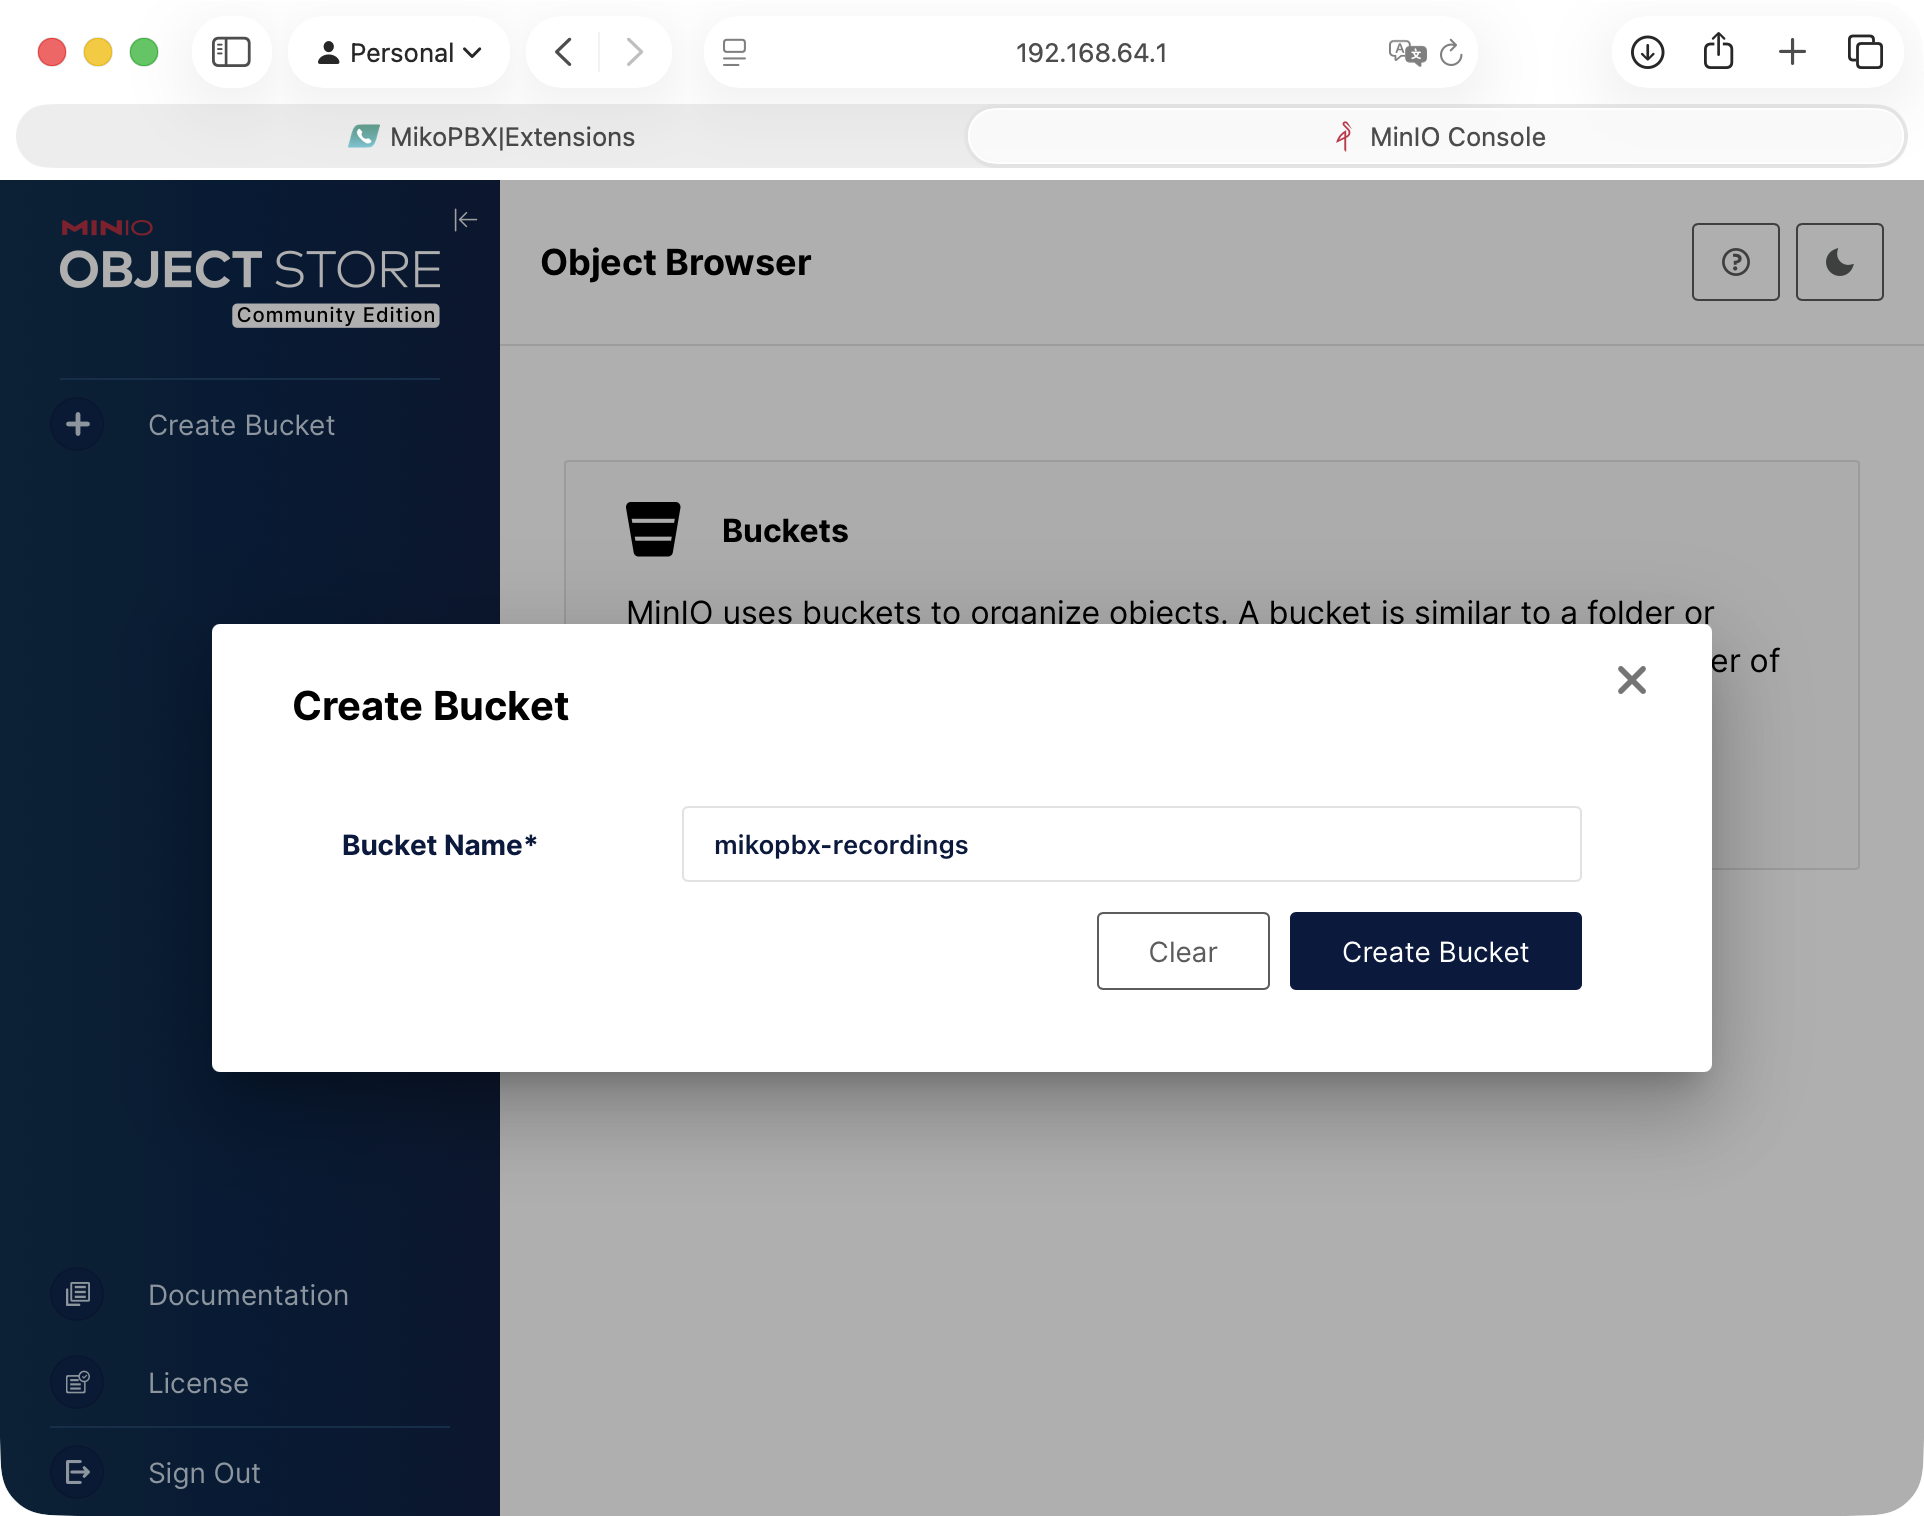
2. Enter a bucket name, for example `mikopbx-recordings`.
Click "**Create Bucket**".
Specifying the name for the bucket being created
To create an access key and configure access permissions, you will need the `mc` console utility.
Install MinIO Client:
```bash
brew install minio/stable/mc
```
After installation, check the version:
```bash
mc --version
```
### Connecting MinIO Client to the Local Server
Add the local MinIO server as an alias:
```bash
mc alias set local http://127.0.0.1:9000 minioadmin minioadmin
```
{% hint style="info" %}
Parameters here:
* local - an arbitrary connection name
* - MinIO API address.
* minioadmin - root user
* minioadmin - root password
{% endhint %}
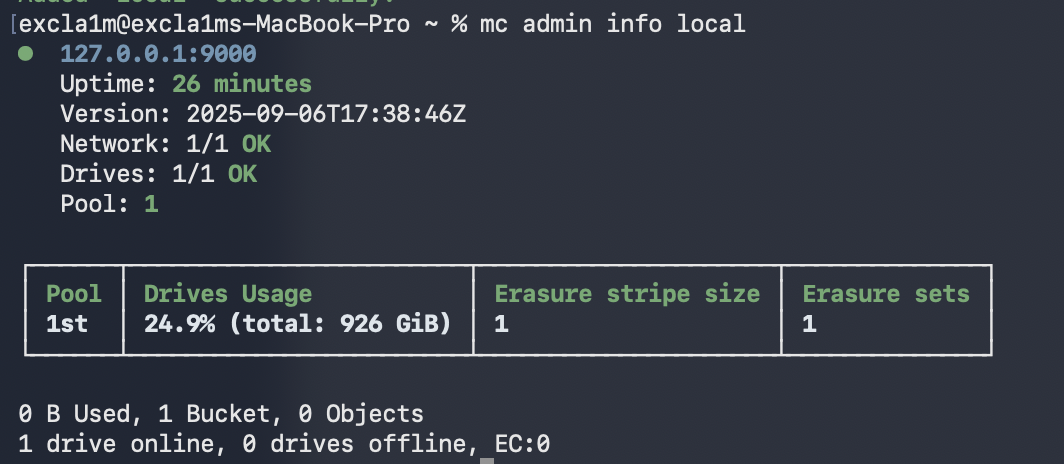
Check the connection:
```bash
mc admin info local
```
If the connection is successful, information about the MinIO server will appear in the terminal.
Information about the MinIO server
### Creating a User and Bucket Access Policy
It is not recommended to use the MinIO root user for connecting external applications.
1. Create a separate user for MikoPBX:
{% hint style="info" %}
Replace `strong-password` with a strong password.
{% endhint %}
```bash
mc admin user add local mikopbx-user 'strong-password'
```
2. Create a policy file:
4. Save the file:
```
Ctrl + O
Enter
Ctrl + X
```
5. Create the policy in MinIO:
```bash
mc admin policy create local mikopbx-recordings-rw mikopbx-recordings-policy.json
```
6. Attach the policy to the user:
```bash
mc admin policy attach local mikopbx-recordings-rw --user mikopbx-user
```
### Creating an Access Key for MikoPBX
Create an access key for the `mikopbx-user` user:
```bash
mc admin accesskey create local/ mikopbx-user
```
MinIO will display access data in response:
```bash
Access Key: A6FMEQOVJAK7K6TUI5O4
Secret Key: HuKLsNh7hmS+3xdLzlpYaFjxu5wVxLPkM8XUTgsj
Expiration: NONE
Name:
Description:
```
Save `Access Key` and `Secret Key`. They will be needed to connect MinIO to MikoPBX.
> Secret Key is displayed only when it is created.
### Connecting to MikoPBX
1. Go to the **"Maintenance"** -> **"Storage"** tab.
"Storage" section in the MikoPBX web interface
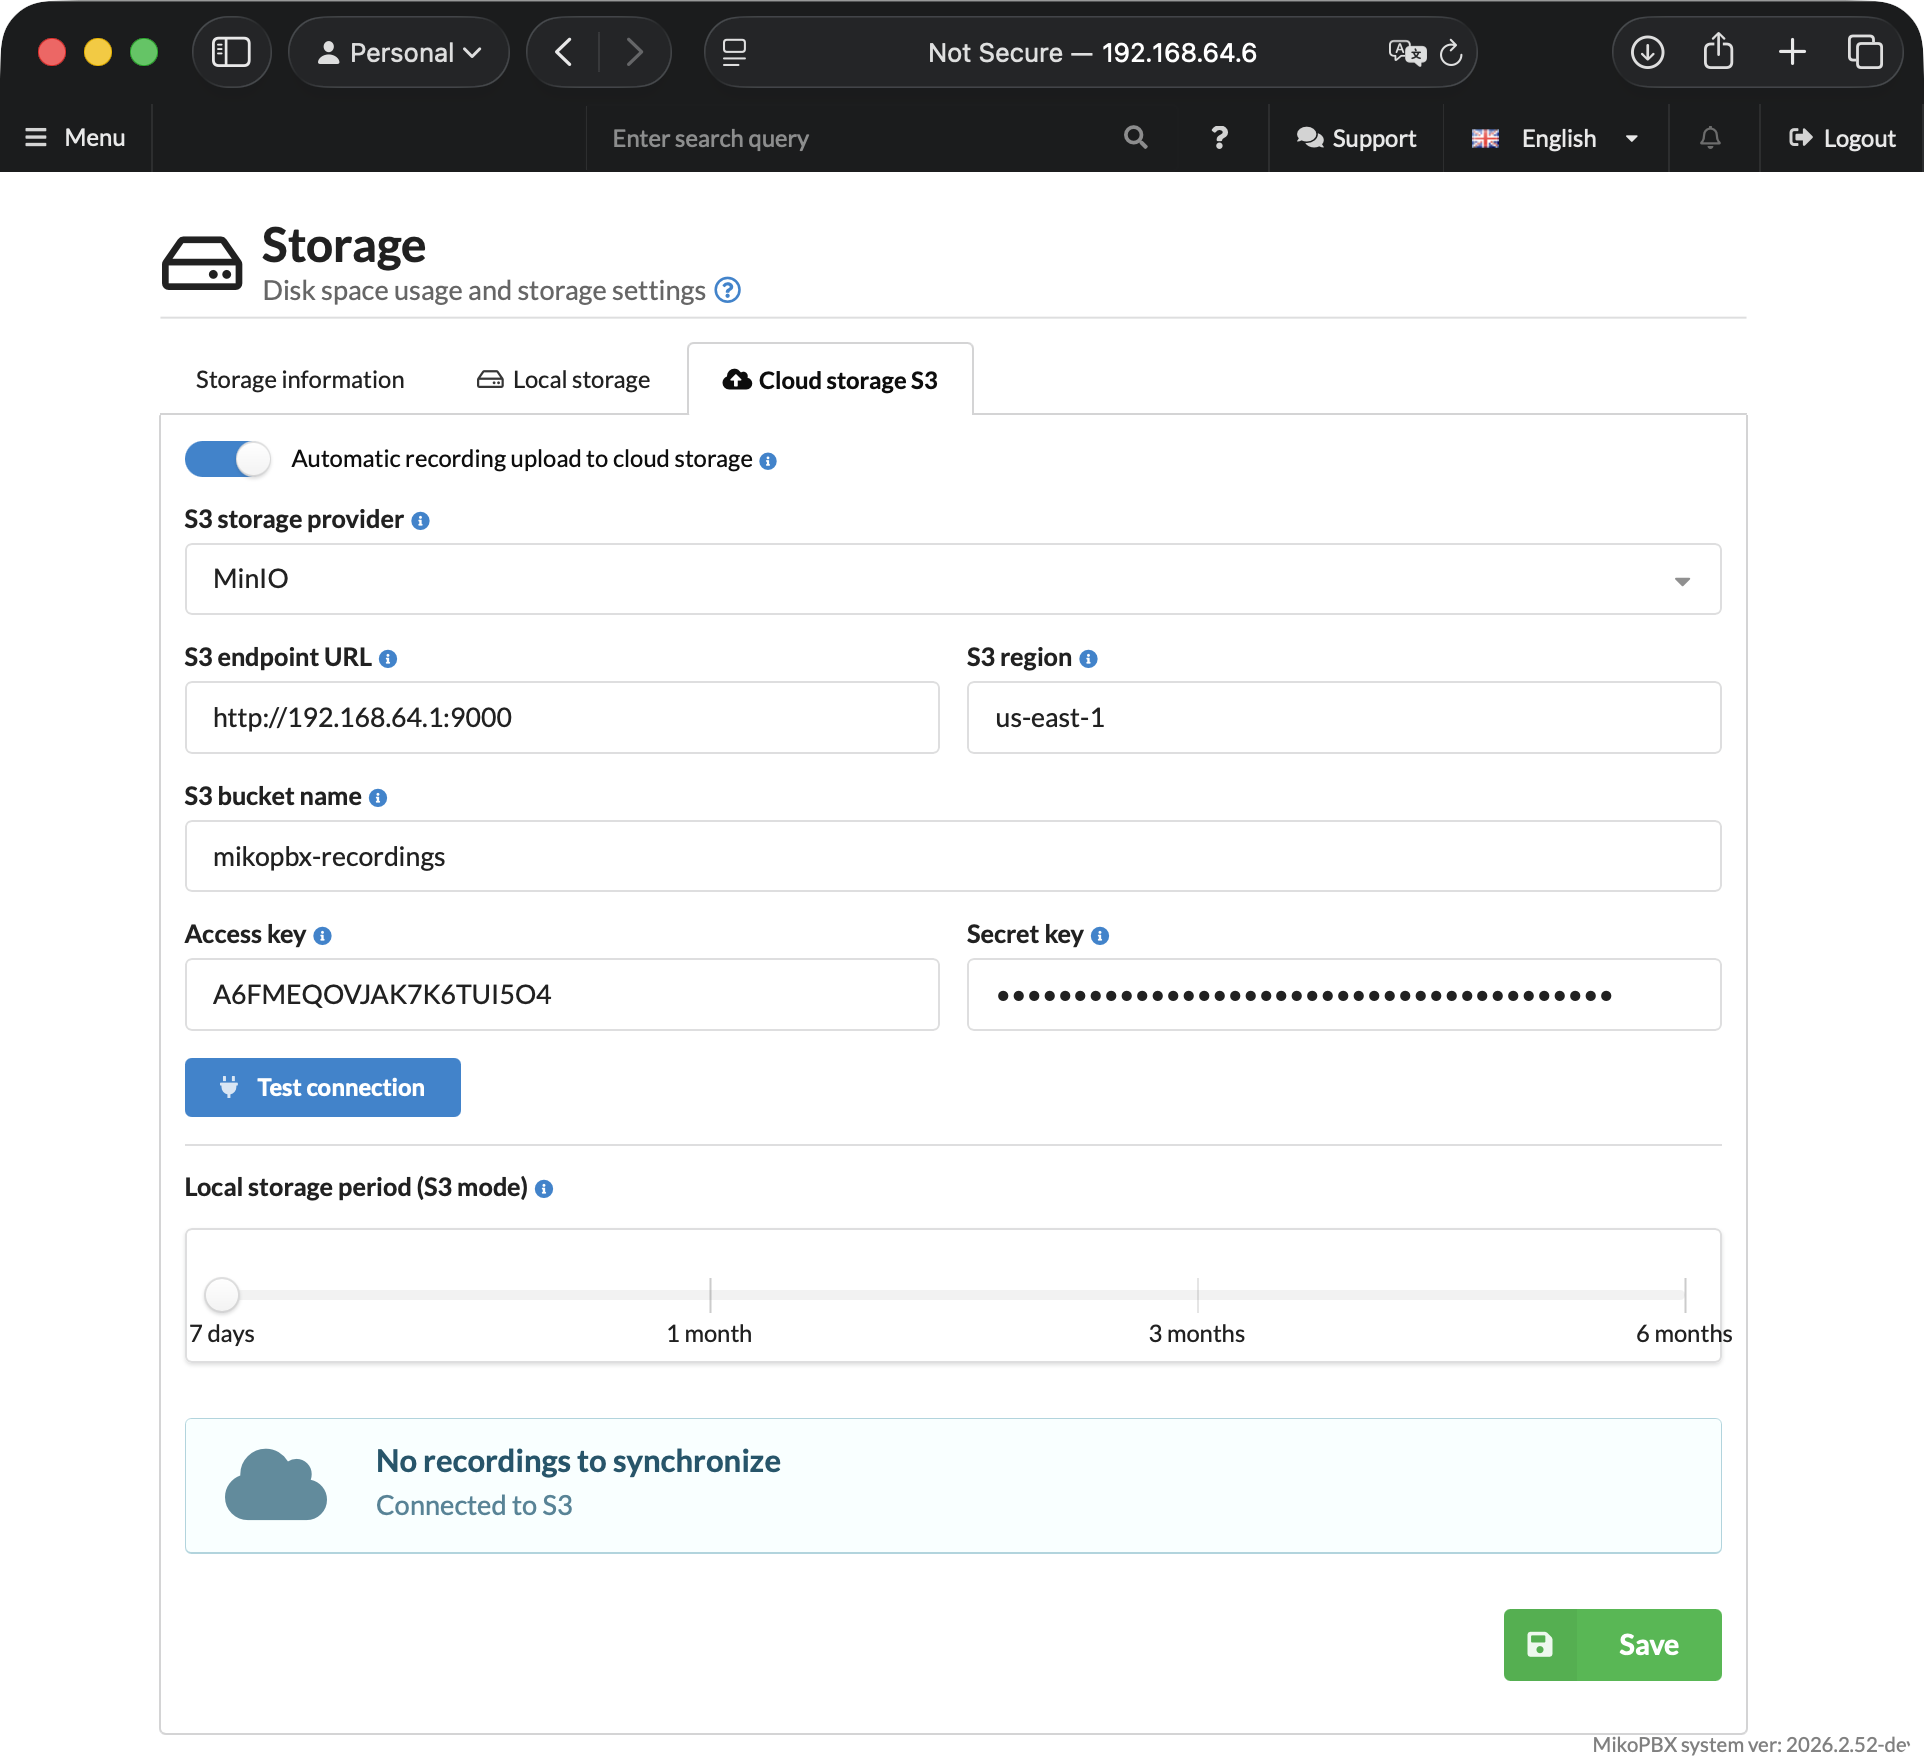
2. Open the **"Cloud storage S3"** tab and fill in the following fields:
* **Automatic recording upload to cloud storage** - enable the switch.
* **S3 storage provider** - MinIO
* **S3 endpoint URL** - `http://192.168.64.1:9000`
* **S3 region** - leave `us-east-1` or enter any value (if you did not specify another one in the MinIO settings)
* **S3 bucket name** - specify the bucket name created in MinIO (`mikopbx-recordings` in this guide)
* **Access key** and **Secret key** - paste the values obtained in the previous part of this guide (key pair).
Configure the **"Local storage period (S3 mode)"** slider - choose how long recordings will be stored locally before being deleted after uploading to the cloud.
{% hint style="info" %}
Shorter local storage frees up disk space faster.
{% endhint %}
Click **"Save"**.
Parameters for connecting MinIO S3
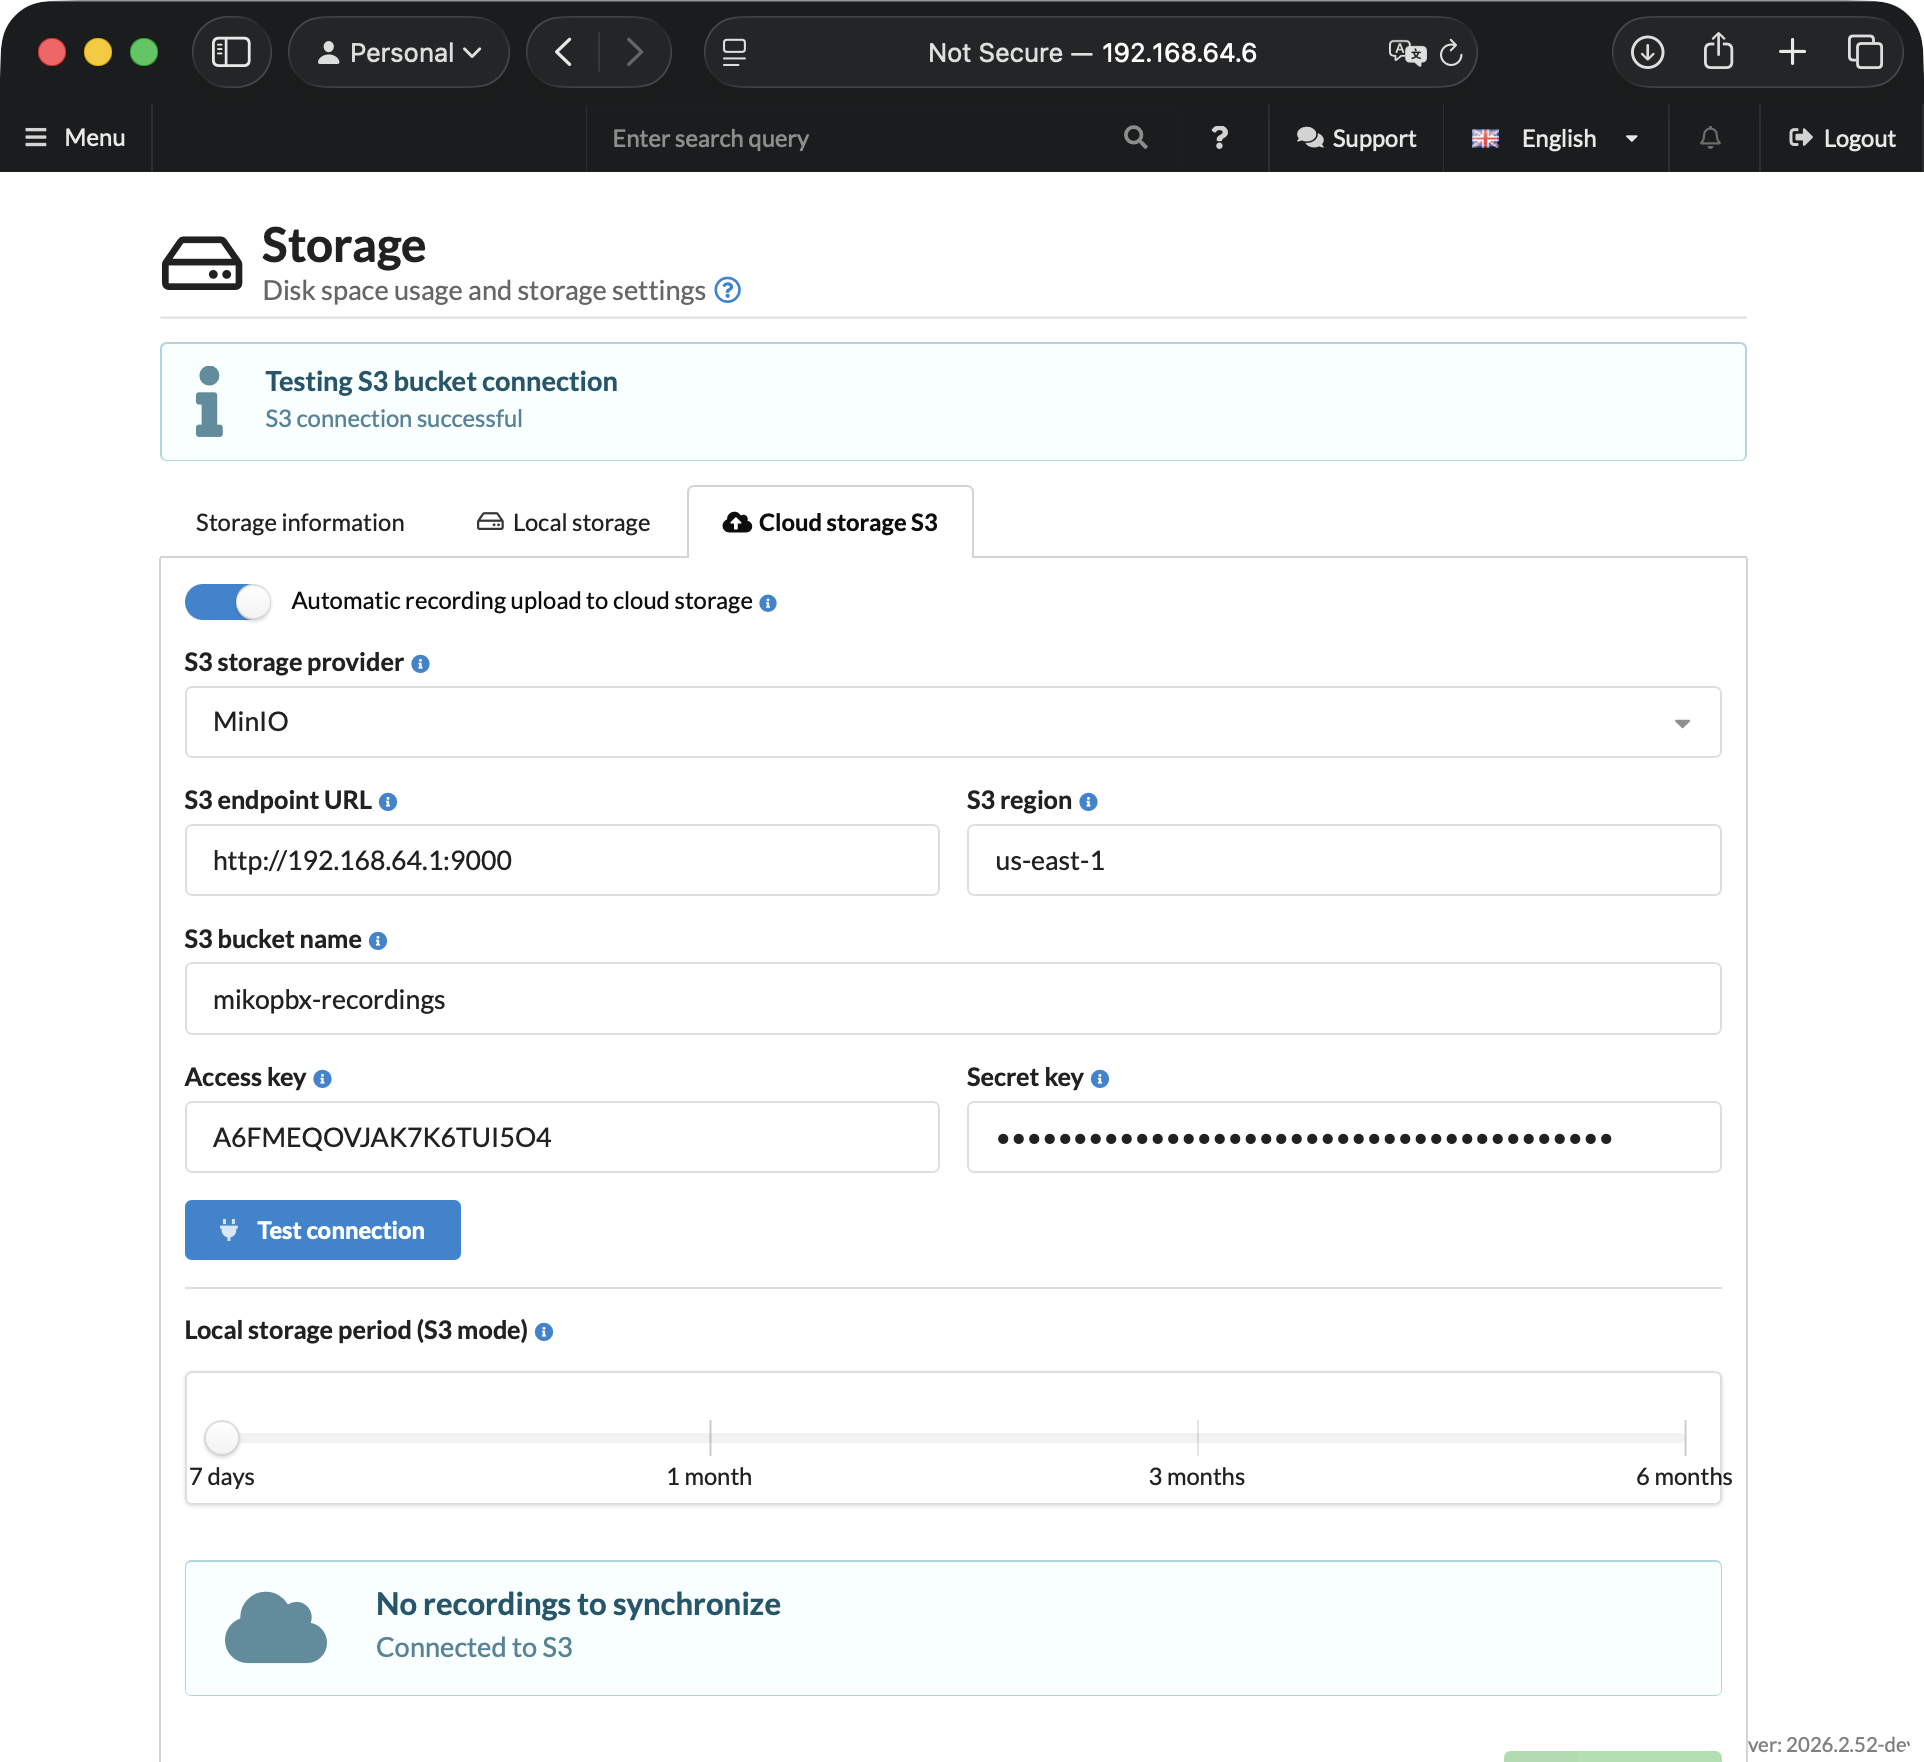
After saving the settings, click "**Test connection**". If the connection is successful, the message "**S3 connection successful**" will appear and synchronization of call recordings will begin.
Successful connection to the S3 bucket
[^1]: Addresses for access to the web interface
[^2]: Replace with the name of your bucket
---
# Agent Instructions
This documentation is published with GitBook. GitBook is the documentation platform designed so that both humans and AI agents can read, navigate, and reason over technical content effectively. Learn more at gitbook.com.
## Querying This Documentation
If you need additional information that is not directly available in this page, you can query the documentation by asking a question.
Perform an HTTP GET request on the following URL with the `ask` and `goal` query parameters:
```
GET https://docs.mikopbx.com/mikopbx/english/manual/maintenance/storage/minio.md?ask=&goal=
```
`ask` is the immediate question: it should be specific, self-contained, and written in natural language.
`goal` is what the user is ultimately trying to achieve, the reason they need the answer. Sharing it helps GitBook give you a better, more relevant answer. A goal is most helpful when it describes the outcome the user wants rather than restating the question. For example, with `ask=how do I create an API token`, a goal like `automate deployments from our CI pipeline` lets GitBook tailor the answer to that use case.
The response will contain a direct answer to the question and relevant excerpts and sources from the documentation.
Use this mechanism when the answer is not explicitly present in the current page, you need clarification or additional context, or you want to retrieve related documentation sections.