# Proton Setup (Login, Password)
### Generating an SMTP Token
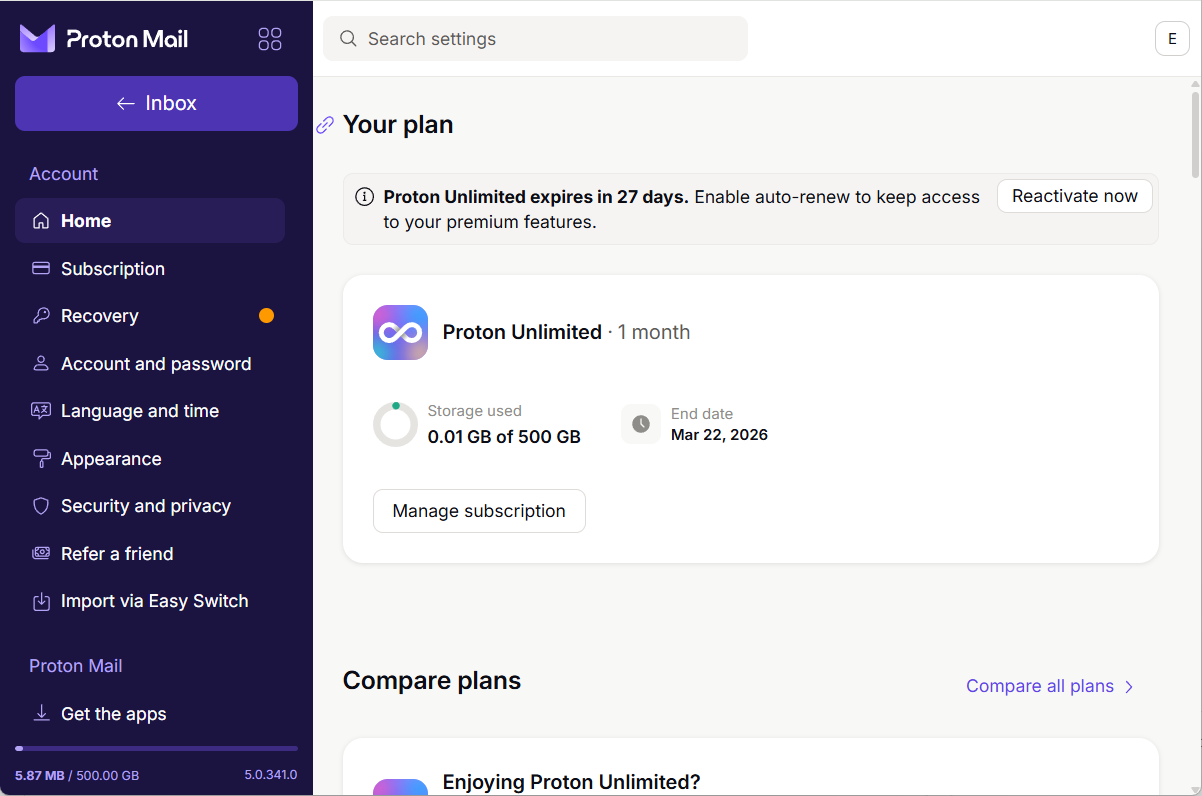
1. First, go to your Proton account settings ([link](https://account.proton.me/u/1/mail/dashboard)).
Proton account settings
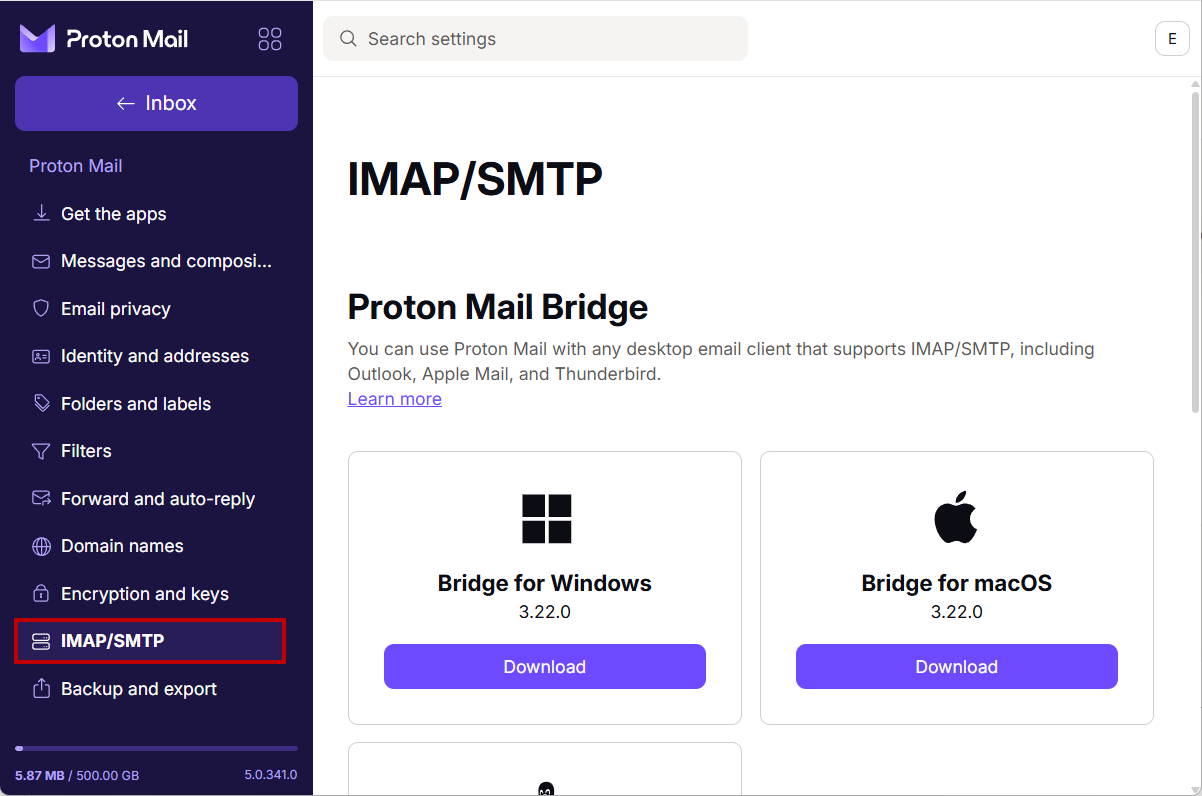
2. Then go to the "**Proton Mail**" -> "**IMAP/SMTP**" section.
"IMAP/SMTP" section
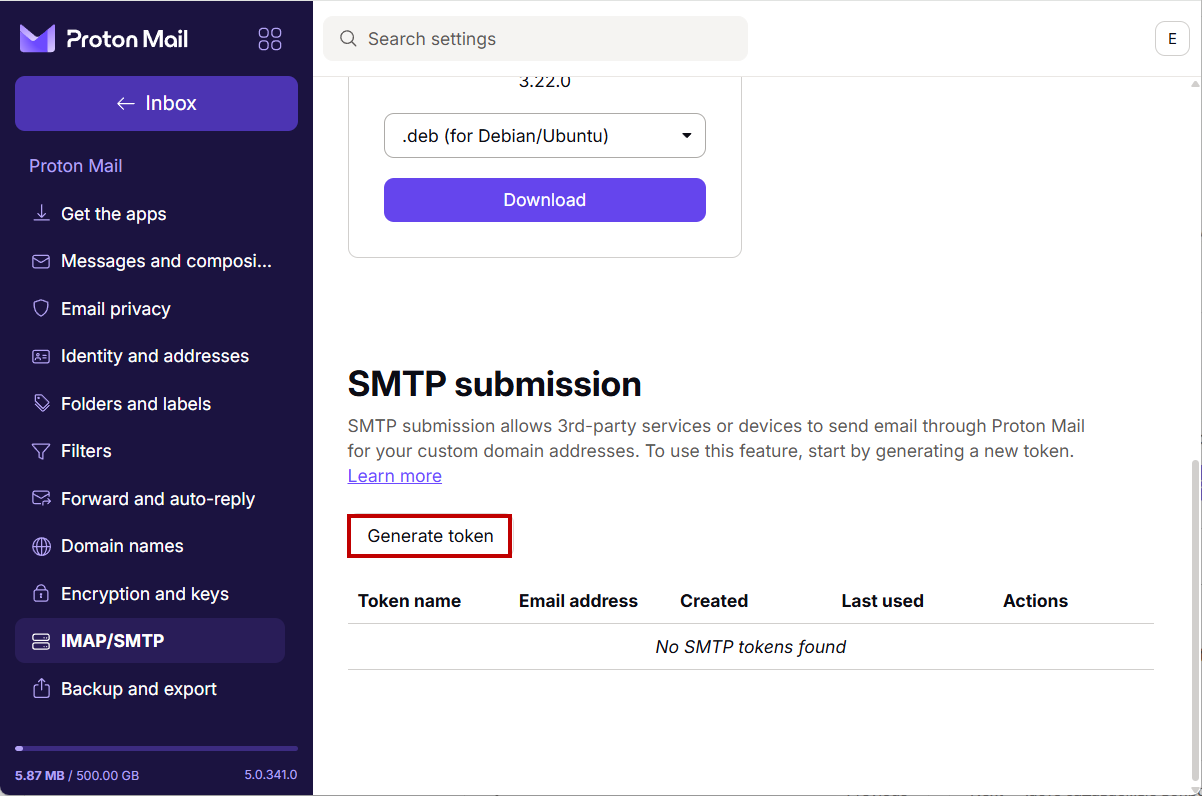
3. Scroll down to the "**SMTP submission**" section. Click "**Generate token**".
"Generate token" button for creating a new token
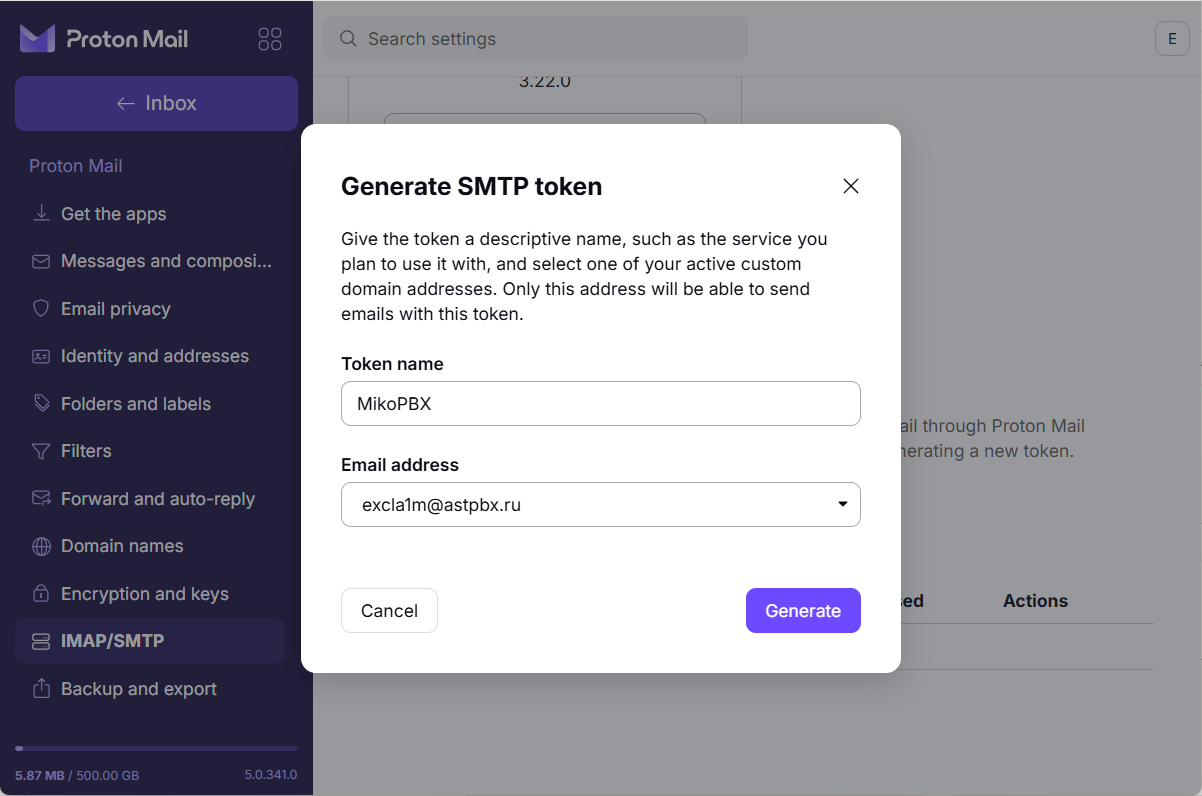
4. Enter an arbitrary name in the "Token name" field — MikoPBX in our case — and select the Email address for which you are creating the token.
Creating a new SMTP token
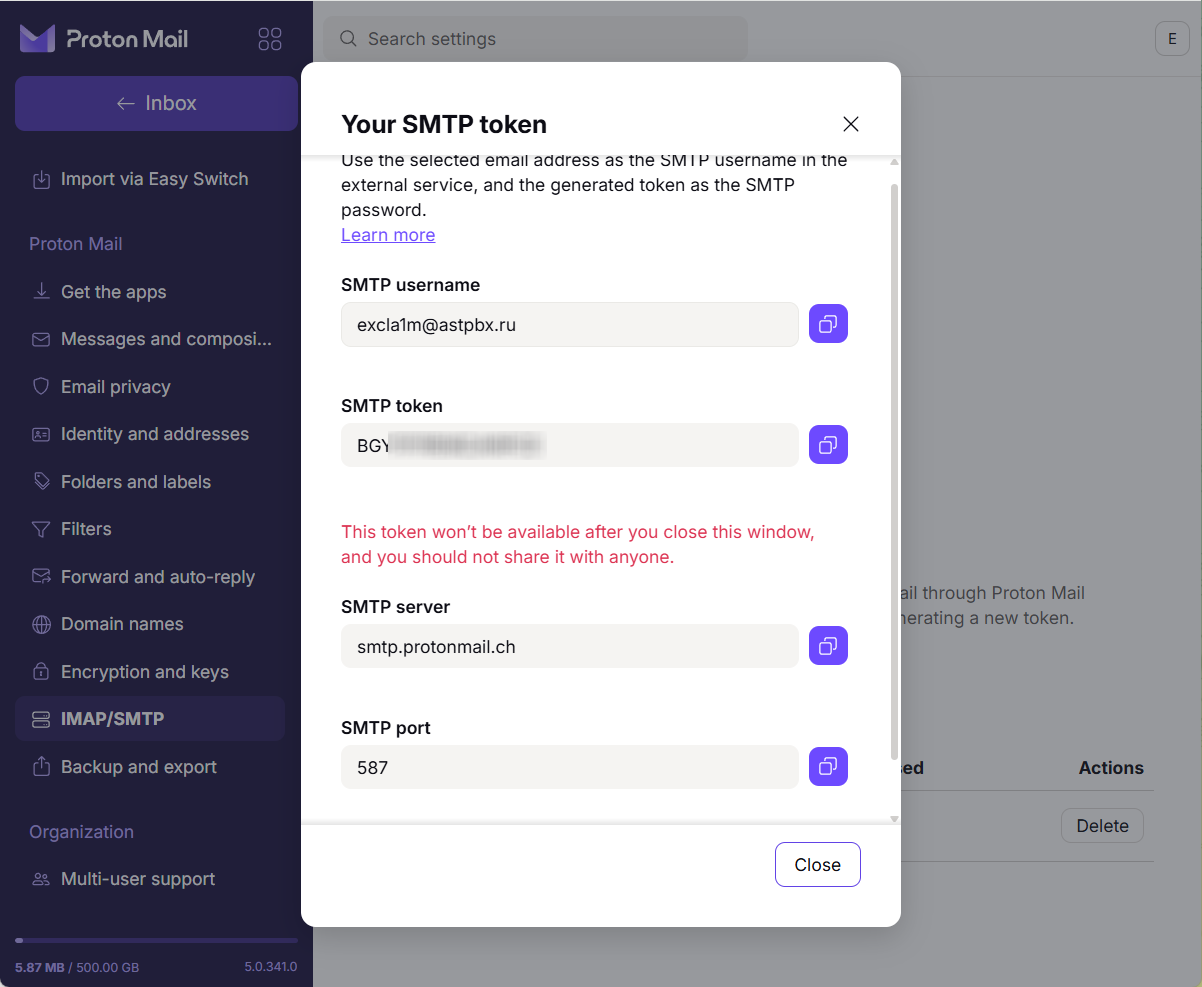
A token will be created. **Its parameters will be shown only once and will become unavailable once you close the window. Save them, as we will use them for further configuration.**
Created token parameters
### Connecting in MikoPBX
1. Go to the "**System**" -> "**Mail and Notifications**" section.
"Mail and Notifications" section
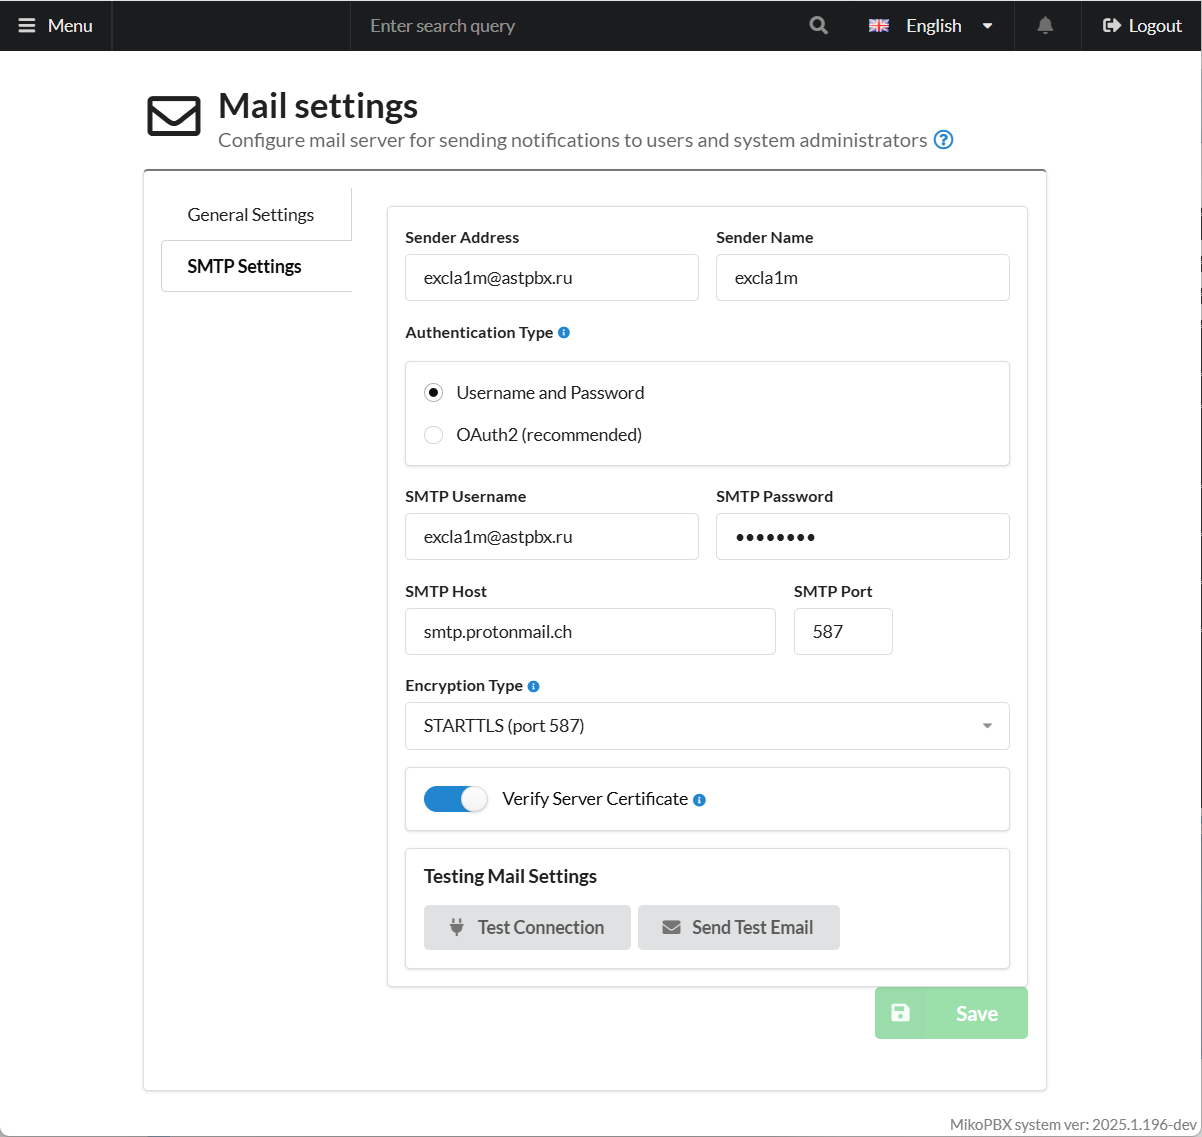
2. Go to "**SMTP Settings**". Fill in all the required parameters:
* **Sender Address** - your email address that you used to generate the token.
* **Sender Name** - the name from which the mail is sent.
* **Authentication Type** - "Username and password".
* **SMTP Username -** SMTP Username from the token data window.
* **SMTP Password -** SMTP token from the token data window.
* **SMTP Host** - **`smtp.protonmail.ch`**
* **SMTP Port** - 587.
* **Encryption Type** - STARTTLS (port 587).
Click "**Save**".
Mail parameters in MikoPBX
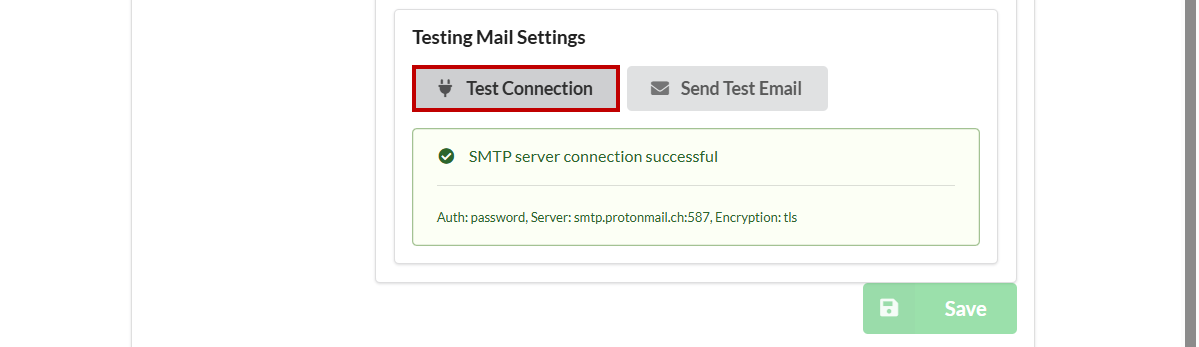
Click "**Test connection**". You will see the following window confirming that the entered data is correct: