# Gmail Setup (oAuth2)

{% hint style="info" %}
Setting up OAuth 2.0 in Google requires using the **station's URL address**.\
The easiest way is to create a DNS record on the local server **or** add an IP address-to-domain name mapping in the `hosts` file on the device from which the configuration is being performed.
{% endhint %}

## Google Account Settings

1. Before starting the setup, you need to change some Google account parameters. To do this, go to the account management page ([link](https://myaccount.google.com/)).

<figure><img src="/files/RJZtzj2FyPO2BMmJl0Hi" alt=""><figcaption><p>Google Account management page</p></figcaption></figure>

2. Go to the "**Security and sign-in**" section. Make sure that two-step authentication is configured.

<figure><img src="/files/8exTi7Kectpqw9Az7EST" alt=""><figcaption><p>Two-step authentication setup</p></figcaption></figure>

3. Go to the Google Cloud Console, to the "**APIs & Services**" section ([link](https://console.cloud.google.com/apis/dashboard)). Create a project for the current task.

<figure><img src="/files/tBMua8nESBrpViDM6ilg" alt=""><figcaption><p>"APIs &#x26; Services" section in Google Cloud</p></figcaption></figure>

4. Go to the APIs library (the "**Library**" section).

<figure><img src="/files/wn6XdPpQMRLiF6h4tTBk" alt=""><figcaption><p>"Library" section in APIs &#x26; Services</p></figcaption></figure>

5. Enter "gmail api" in the search bar. Open the Gmail API card.

<figure><img src="/files/29o1FV8cNqretGzVeKvJ" alt=""><figcaption><p>Gmail API in the Google Cloud library</p></figcaption></figure>

6. Click "**Enable**" to connect.

<figure><img src="/files/xByrShctsFgEz1tcGdmK" alt=""><figcaption><p>Enabling the API</p></figcaption></figure>

7. Go to the main **APIs & Services** page. Then click "**OAuth consent screen**".

<figure><img src="/files/9GoROaffU0QJzfp9DfI1" alt=""><figcaption><p>"OAuth consent screen" section in APIs &#x26; Services</p></figcaption></figure>

8. Create a project (click "**Get started**"). Fill in an arbitrary name and your email. Select "**Internal**" as the Audience. Click "**Create**" to finish.

<figure><img src="/files/yonoF7OVQsPSkao2tjJn" alt=""><figcaption><p>"Audience" parameter in project creation process</p></figcaption></figure>

9. Return to the main **APIs & Services** page. Then go to the "**Credentials**" section. Click "**Create credentials**". Select "OAuth client ID" to create.

<figure><img src="/files/sHWAiiknucqimejJaQ3Q" alt=""><figcaption><p>Creating a new OAuth client ID</p></figcaption></figure>

10. Select "**Web application**" as the Application type. Then enter an arbitrary name. Click "**Create**".

<figure><img src="/files/DDVZP2Mr3FJ8H5xJ1flf" alt=""><figcaption><p>Creating a new OAuth client ID</p></figcaption></figure>

11. Add a new "**Authorized redirect URI**".

{% hint style="info" %}
Format:

<mark style="color:blue;">`https://mikopbx.station.com/pbxcore/api/v3/mail-settings/oauth2-callback`</mark>

Replace "mikopbx.station.com" with your station's URL.
{% endhint %}

<figure><img src="/files/AgmUA2W5bWfdfYXjDjCI" alt=""><figcaption><p>Adding a new redirect URL</p></figcaption></figure>

12. An OAuth client will be created. Save the Client ID and Client Secret to your notes. You will need this data for the connection in the future.

<figure><img src="/files/FkaLh4LI38YZffcURq1F" alt=""><figcaption><p>Successfully created client</p></figcaption></figure>

## Settings in MikoPBX

1. Go to the "**System**" -> "**Mail and notifications**" section:

<figure><img src="/files/YmrvtpBYLEL3ErW7JUOJ" alt=""><figcaption><p>"Mail and Notifications" section in MikoPBX</p></figcaption></figure>

2. Next, go to "SMTP Settings". Fill in the following parameters:

* **Sender address, Sender name** — your email and the name from which the emails will be sent.
* **Authentication type** — OAuth2.
* **SMTP login** — your email.
* **OAuth2 Provider** — Google/Gmail.
* **Application ID (Client ID), Secret key (Client Secret)** — the data saved from Google Cloud (step 12 from the previous section of this guide).

Leave all other settings at their default values. A more detailed description can be found in the main article about mail parameters ([link](/mikopbx/english/manual/system/mail-settings.md)).

After that, click "**Save**"!

<figure><img src="/files/15RsVdHXWV6DN7ykSGCL" alt=""><figcaption><p>Mail parameters for connecting Gmail</p></figcaption></figure>

3. Click the blue "**Connect via OAuth2**" button. Then select your Gmail account.

<figure><img src="/files/JsNsBZfTIecPePBzjR7K" alt="" width="375"><figcaption><p>Selecting a Google account</p></figcaption></figure>

4. Confirm the sign-in: click "**Continue**".

<figure><img src="/files/q4cIed2KMwk0EDfEteCi" alt="" width="375"><figcaption><p>Continuing authorization</p></figcaption></figure>

5. Confirm granting the required permissions (click "**Allow**").

<figure><img src="/files/wRNQ3vhtItF9A5wGCiHY" alt="" width="375"><figcaption><p>Granting permissions</p></figcaption></figure>

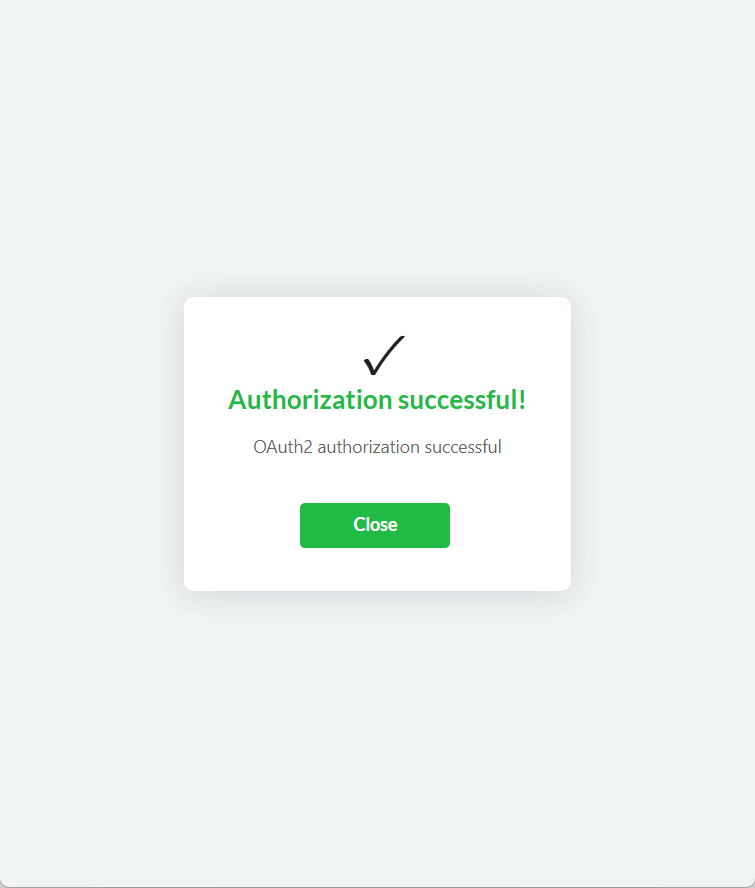
Upon successful authorization, you will see the following window.

<figure><img src="/files/pf8nS0D3mNzDZ9iorw31" alt="" width="375"><figcaption><p>Successful authorization</p></figcaption></figure>

#### Troubleshooting

Access blocked: Authorization Error (\*\*Error 400: invalid\_request)

<figure><img src="/files/TpmzZzeJIUY7Ylux9PdR" alt="" width="375"><figcaption><p>Error 400: invalid_request</p></figcaption></figure>

Solution: enter the station's URL address in the MikoPBX web interface: "**Network and Firewall**" -> "**Network Interfaces**". Go to the "Network Topology" section and enter the hostname in the "**External hostname of your router**" field. (Enable "**This station is located behind a NAT router**".)

<figure><img src="/files/Fmz5LFpC2vzzc36q8HnF" alt=""><figcaption><p>Problem solution</p></figcaption></figure>


---

# Agent Instructions: Querying This Documentation

If you need additional information that is not directly available in this page, you can query the documentation dynamically by asking a question.

Perform an HTTP GET request on the current page URL with the `ask` query parameter:

```
GET https://docs.mikopbx.com/mikopbx/english/manual/system/mail-settings/gmail-oauth2.md?ask=<question>
```

The question should be specific, self-contained, and written in natural language.
The response will contain a direct answer to the question and relevant excerpts and sources from the documentation.

Use this mechanism when the answer is not explicitly present in the current page, you need clarification or additional context, or you want to retrieve related documentation sections.