Microsoft Outlook Setup (OAuth2)
Mail setup for the Outlook service (outlook.com; hotmail.com) via OAuth2 Authentication
Settings in Microsoft Entra
Application Registration
Sign in to the Microsoft Entra admin center.

Go to "Entra ID" -> "App registrations". Then click "New registration" to register a new application.

Select the following parameters for your application:
Name - enter a name for your application.
Supported account types - select "Accounts in any organizational directory (Any Microsoft Entra ID tenant - Multitenant)".

Specify the Redirect URL:
Select a platform — select "Web".
URL:
Replace 192.168.100.71 with your MikoPBX address.
Then click "Register".

The application will be created. Save the Client ID — you will need it in the future for configuration inside the MikoPBX web interface.

Granting Permissions and Creating a Client Secret
From the application's main page, go to "Manage" -> "API permissions".

Click "Add a permission".

In the "Microsoft Graph" section, select "Delegated Permissions". Enter "SMTP" in the search bar. Check the box next to "SMTP.Send".

Also enter "offline" in the search bar. Check the box next to "offline_access".
Click "Add permissions".

Next, go to "Certificates & secrets" -> "Client secrets". Click "New client secret".

Set the required parameters:
Description - an arbitrary description.
Expires - the duration for which you are issuing this client secret. It will be needed for application authentication in MikoPBX.
After creation, the Client Secret value will be shown only once. Do not forget to copy it into the MikoPBX web interface.
Click "Add".

Copy the "Value" (not the Secret ID!). It will be needed for configuration in the MikoPBX web interface.

Granting Permissions to a User
For the application to work correctly, you need to grant permission to use the SMTP protocol for the user whose mailbox you are authorizing during this setup. To do this, follow these steps:
Go to the organization's admin center (link).

Go to "Users" -> "Active Users". Click on the name of the user account under which the application is being created.

In the account, go to the "Mail" section and select "Manage email apps".

Make sure that "Authenticated SMTP" is allowed. Save the changes by clicking "Save changes".

Settings in MikoPBX
Go to the MikoPBX web interface. Then "System" -> "Mail and Notifications" -> "SMTP Settings".
Fill in all the required fields:
Sender address, Sender name — your email and the name from which the emails will be sent.
Authentication type — OAuth2.
SMTP login — your email.
OAuth2 Provider — Microsoft/Outlook.
Application ID (Client ID), Secret key (Client Secret) — data from Microsoft Entra.
Leave all other settings at their default values. A more detailed description can be found in the main article about mail parameters (link).
After that, click "Save"!
Click "Connect via OAuth2". Sign in to your Microsoft account. Then confirm granting all requested permissions.
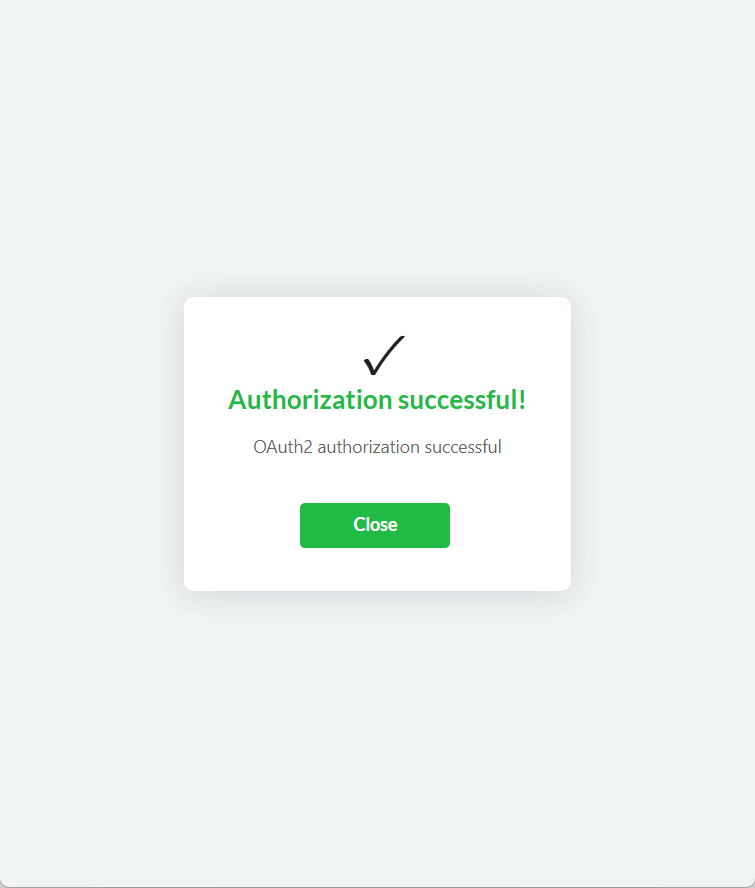
Upon successful authorization, you will see the corresponding window.

Last updated
Was this helpful?