> For the complete documentation index, see [llms.txt](https://docs.mikopbx.com/mikopbx/llms.txt). Markdown versions of documentation pages are available by appending `.md` to page URLs; this page is available as [Markdown](https://docs.mikopbx.com/mikopbx/english/modules/miko/beeline-cloud-pbx-integration.md).
# Beeline Cloud PBX integration
The module imports call history and recordings from Beeline Cloud PBX into MikoPBX and can send real-time call events to 1C:Enterprise.
The module automatically imports calls from Beeline Cloud PBX into the standard MikoPBX **Telephony → Call history** section. If call recording is enabled in Beeline, recordings will also be available from the MikoPBX call history.
The integration is read-only with respect to Beeline calls: it does not place or control calls in Beeline Cloud PBX.
### Who is this module for?
The module is intended for companies whose employees use Beeline mobile numbers or FMC SIM cards. It provides a consolidated call history and access to recordings in MikoPBX and can also import call history into 1C:Enterprise.
### Preparing Beeline Cloud PBX
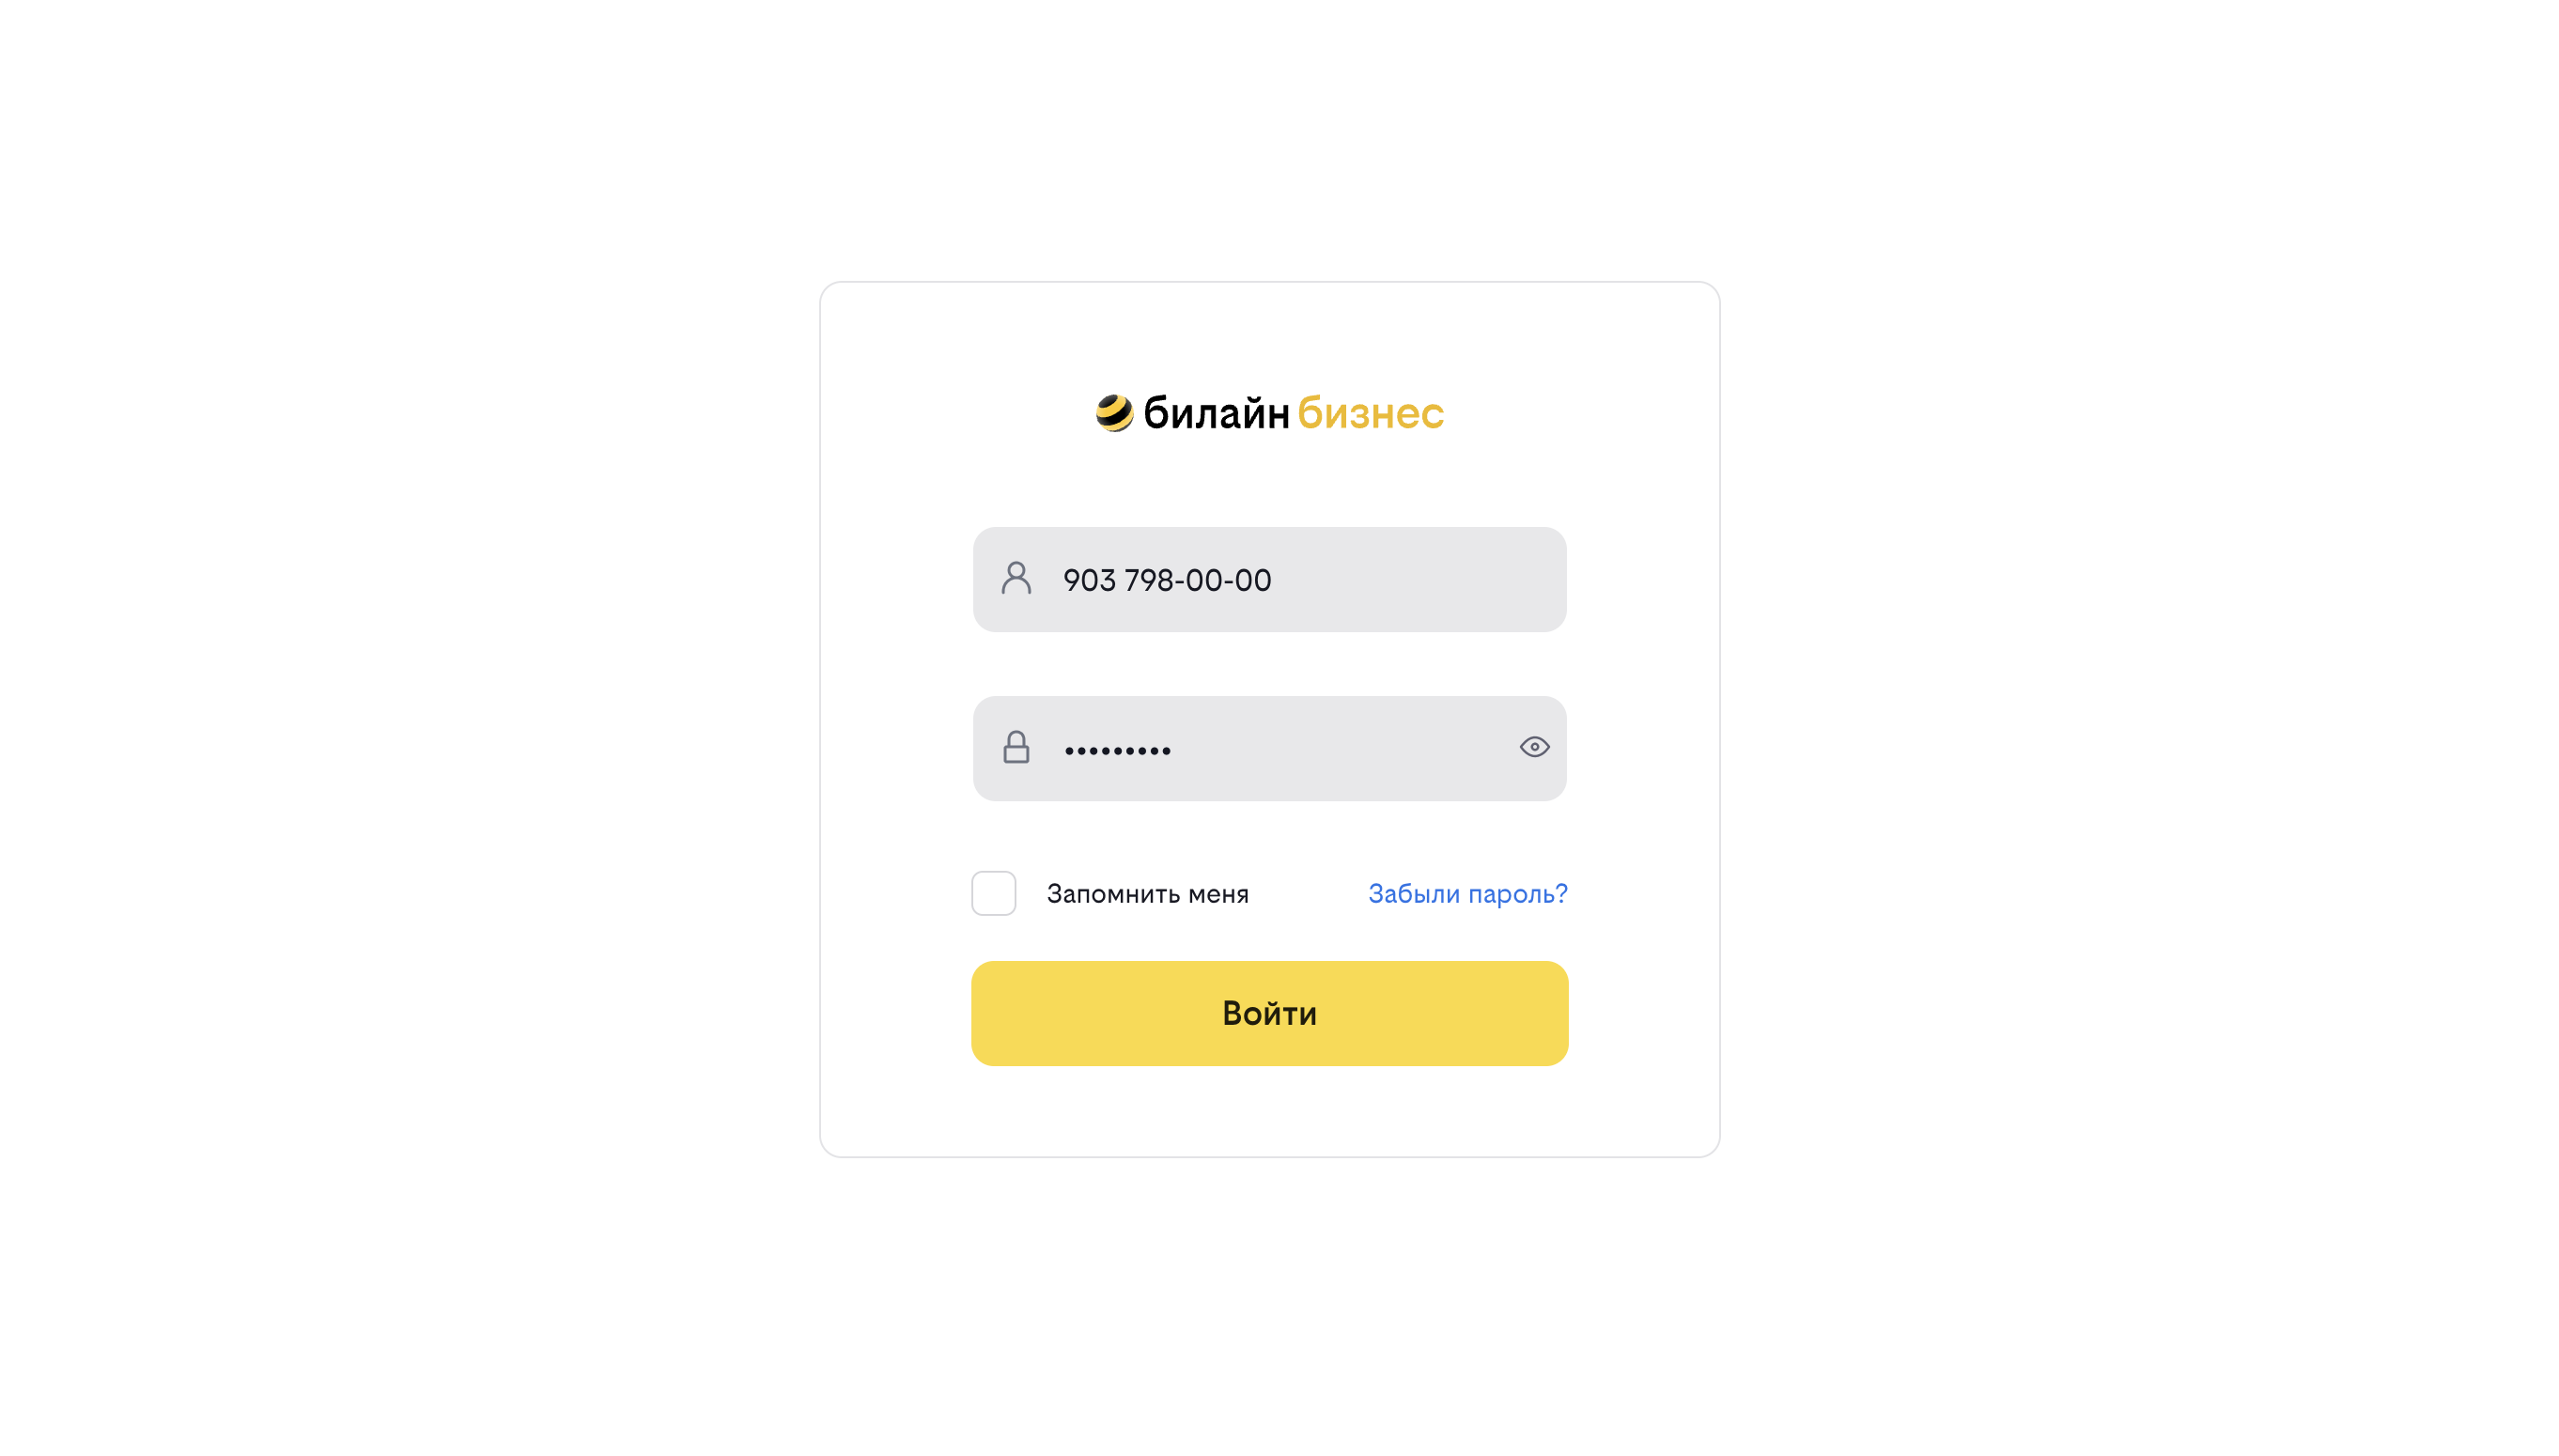
Open the [Beeline Cloud PBX sign-in page](https://cloudpbx.beeline.ru/new/#/login) and sign in with an administrator account.
Signing in to Beeline Cloud PBX
#### Enabling call recording
In the services section, enable and configure **Запись разговоров** (Call recording) for each employee whose calls must be recorded.
The Call recording service
{% hint style="info" %}
If the service is not enabled for an employee, their call history will still be imported, but no audio recordings will be available.
{% endhint %}
#### Obtaining an API token
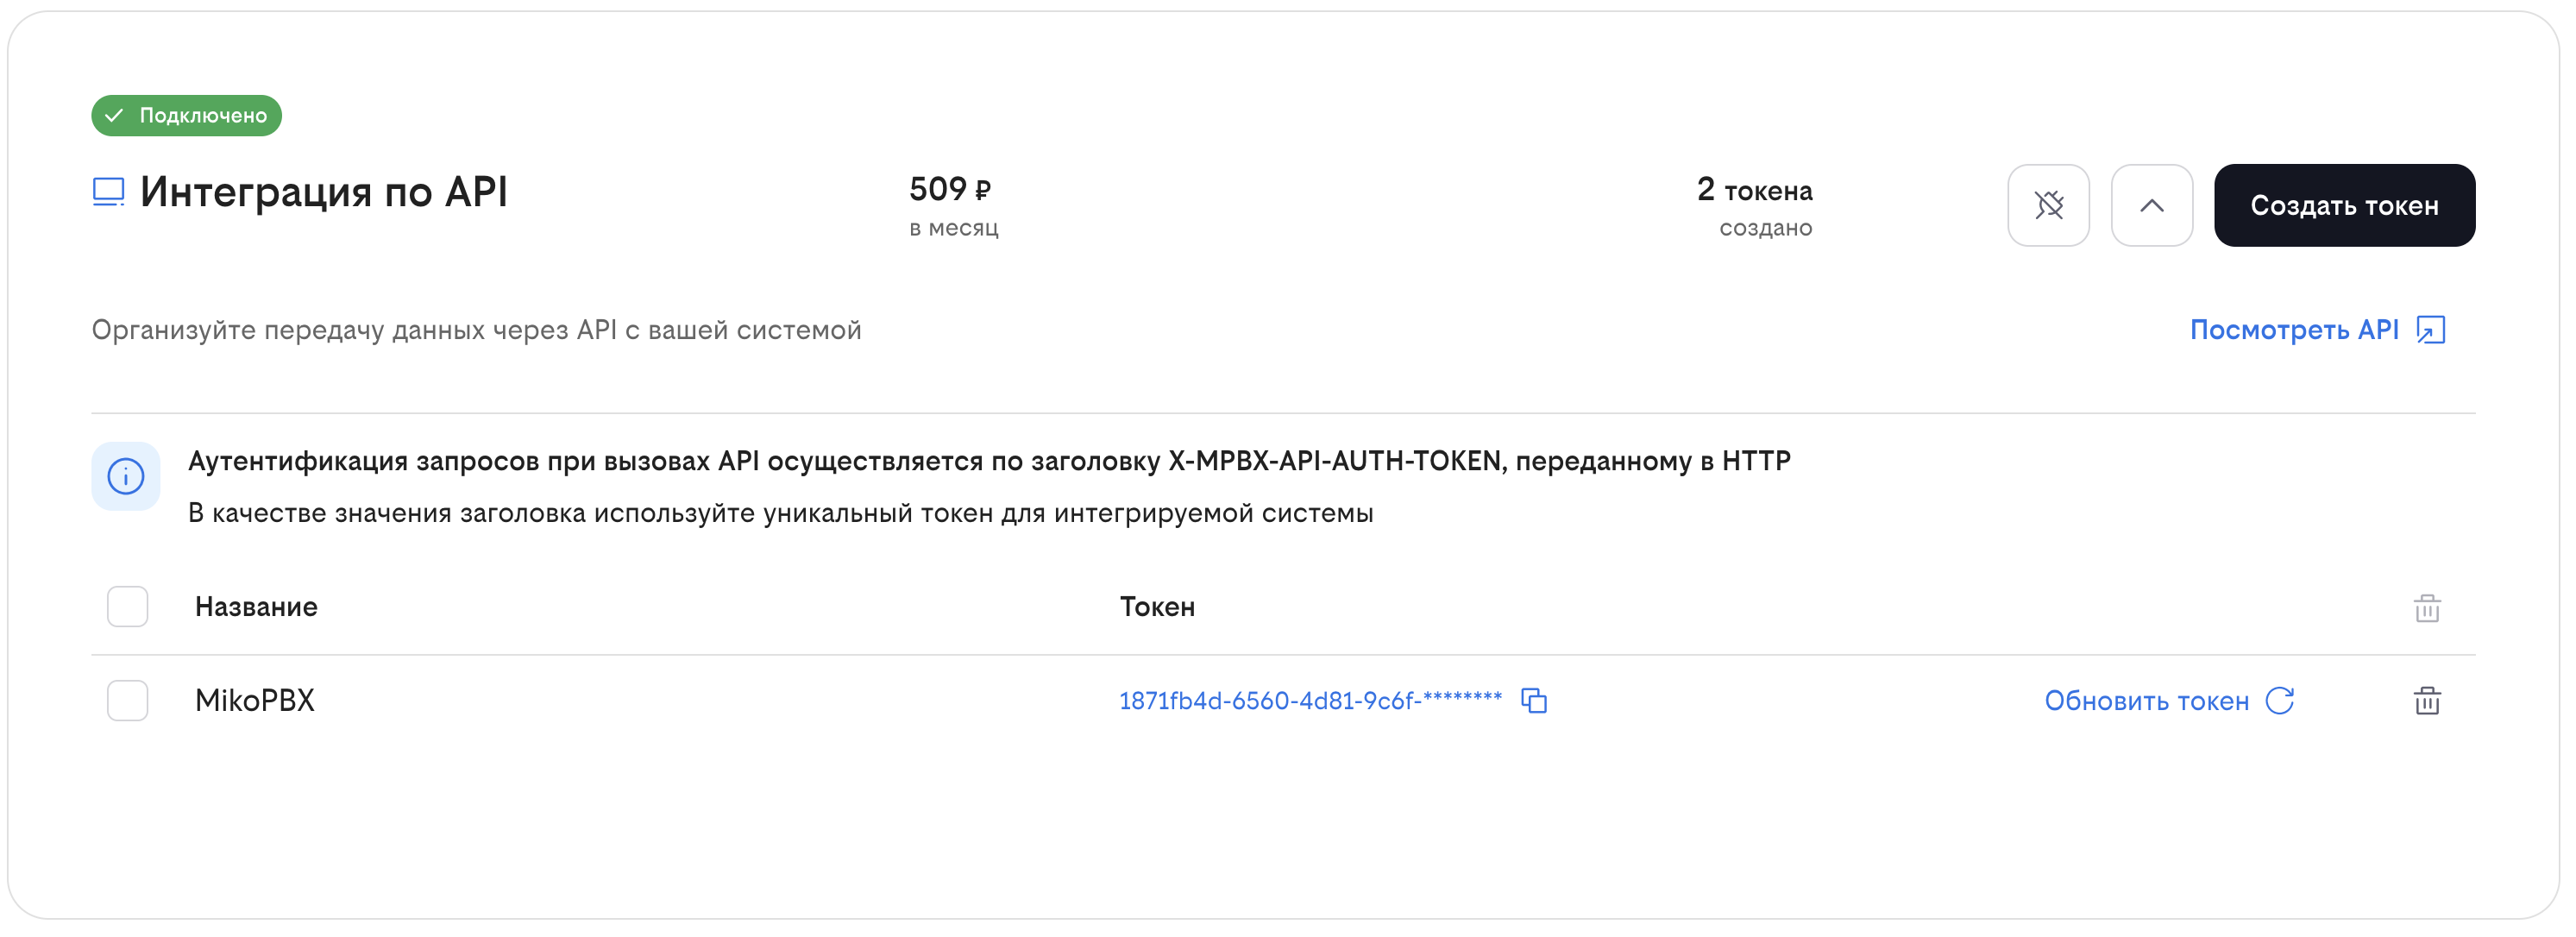
1. In the services section, enable **Интеграция по API** (API integration).
2. Expand the service settings and click **Создать токен** (Create token).
3. Enter a descriptive name, such as `MikoPBX`.
4. Copy the generated token. You will need it in the MikoPBX module settings.
Creating a REST API access token
{% hint style="warning" %}
The API token grants access to your Cloud PBX data. Store it like a password and do not publish it.
{% endhint %}
### Configuring the MikoPBX module
Install and open **Beeline Cloud PBX integration** under **Modules → Module management**.
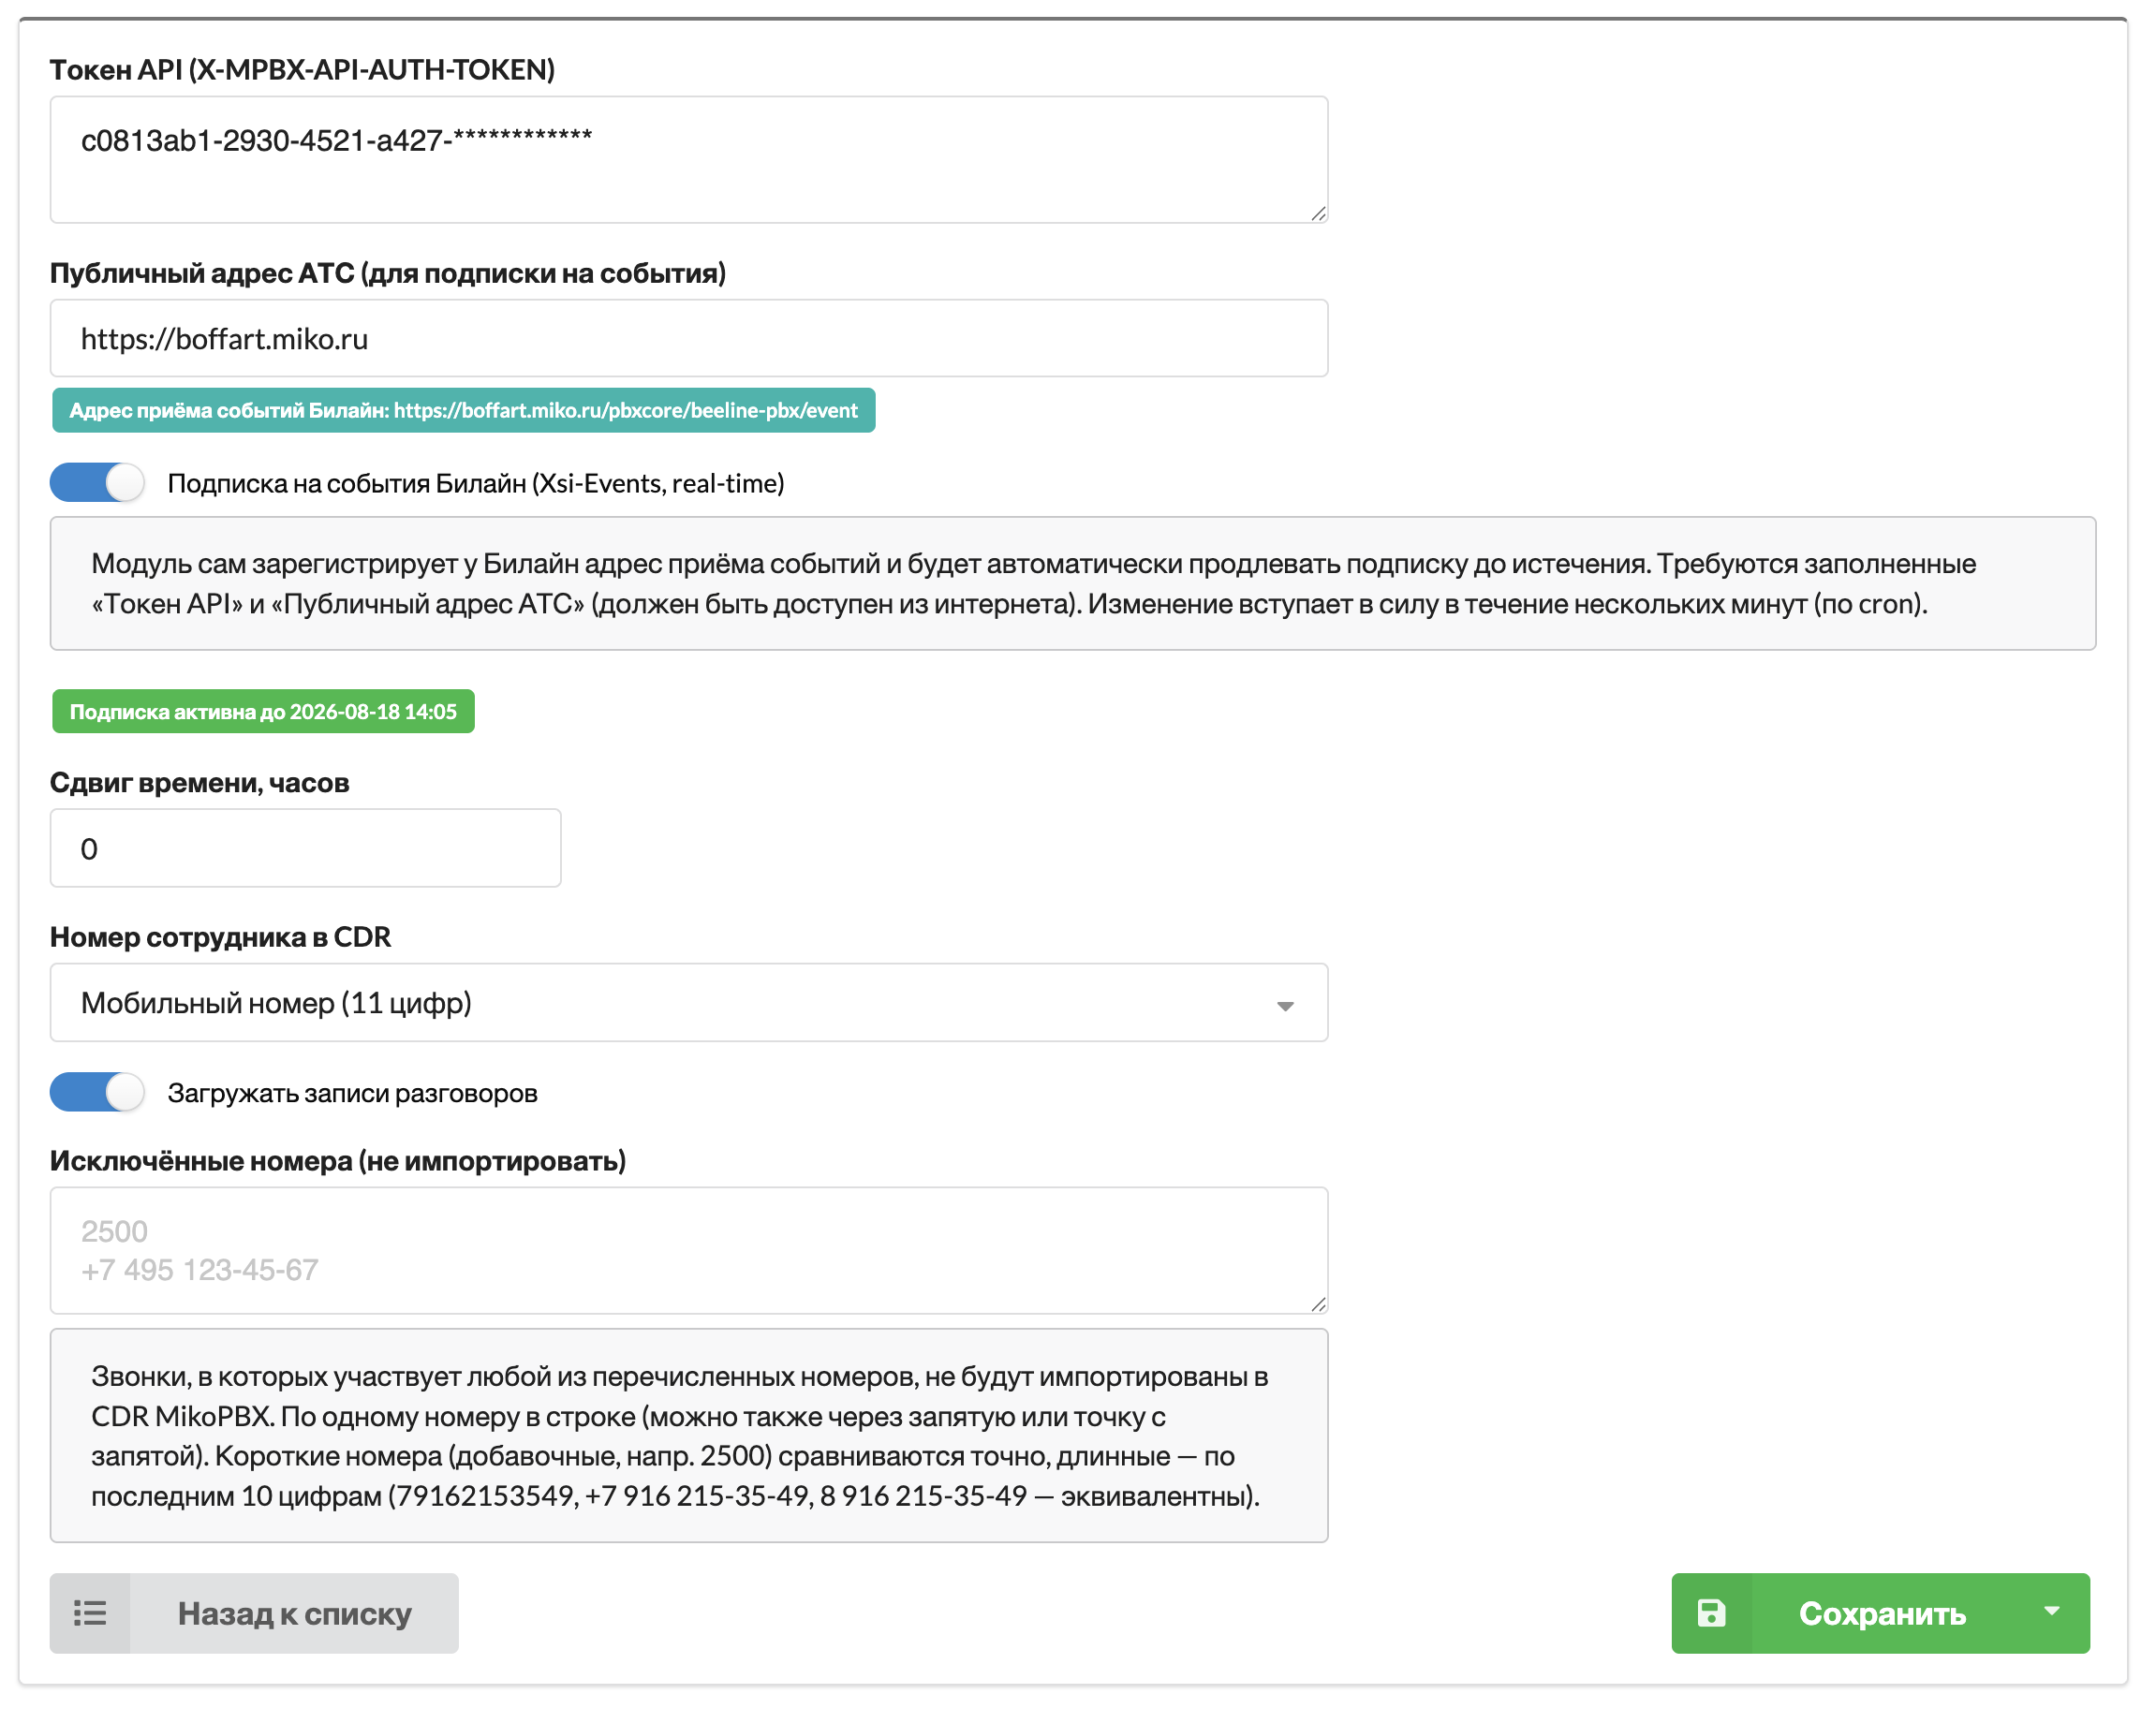
Module settings (shown in Russian)
Configure every option as follows:
* **API token (X-MPBX-API-AUTH-TOKEN)** — the token created under **API integration**. It is required for importing call history and recordings and for subscribing to events.
* **Public PBX address (for event subscription)** — the public HTTPS base URL of MikoPBX without an additional path, for example `https://pbx.example.com`. This field is only required for real-time call events. The address must be reachable from the internet. The module displays the resulting Beeline callback URL below the field.
* **Subscribe to Beeline events (Xsi-Events, real-time)** — registers the event callback and renews the subscription automatically. Enable it to send call states to **Telephony Panel 4.0 for 1C:Enterprise**. A valid API token, a public MikoPBX URL, and a configured Telephony Panel module are required. Activation can take several minutes after saving; the current state and expiration time are shown below the switch.
* **Time shift, hours** — compensates for a constant difference between timestamps in Beeline and MikoPBX. Start with `0` and change it only if imported calls consistently have the wrong time.
* **Employee number in CDR** — selects which employee number appears in call history: the internal extension or the 11-digit mobile number.
* **Download call recordings** — downloads audio for answered calls. The **Call recording** service must be enabled and configured in Beeline Cloud PBX.
* **Excluded numbers (do not import)** — calls involving any listed number are omitted from MikoPBX call history. Enter one number per line; commas and semicolons are also supported. Short extensions are matched exactly, while long numbers are matched by their last 10 digits. For example, `79162153549`, `+7 916 215-35-49`, and `8 916 215-35-49` are treated as the same number.
Click **Save**. New calls will start appearing in MikoPBX automatically. A recording may become available several minutes after the call ends.
### Importing call history into 1C:Enterprise
To import calls into **Telephony Panel 4.0 for 1C:Enterprise**, use `ЗагрузкаИсторииЗвонковBeelinePBX.epf`, which is included in the module archive.
1. Add the file to 1C:Enterprise as an external data processor.
2. Enter the MikoPBX server address in the processor settings.
3. Set the initial `offset` to `0` during the first setup.
4. Run the processor manually and confirm that call history is imported.
5. Configure a schedule that runs the processor automatically at an interval appropriate for your organization.
{% hint style="info" %}
Install and configure **Telephony Panel 4.0 for 1C:Enterprise**, including its required published 1C web services, before configuring the external processor.
{% endhint %}
### Real-time call events in 1C:Enterprise
Scheduled history import through the EPF file and real-time call events are independent features. To receive call states in 1C:Enterprise without waiting for the next scheduled import:
1. Make sure **Telephony Panel 4.0 for 1C:Enterprise** is installed, enabled, and configured in MikoPBX.
2. Enter the public HTTPS address of MikoPBX.
3. Enable **Subscribe to Beeline events** and save the settings.
4. Wait until the module reports that the subscription is active.
The module matches a Beeline employee to a 1C:Enterprise user by mobile number. Make sure the mobile number is present in 1C:Enterprise and uniquely identifies that employee.
---
# Agent Instructions
This documentation is published with GitBook. GitBook is the documentation platform designed so that both humans and AI agents can read, navigate, and reason over technical content effectively. Learn more at gitbook.com.
## Querying This Documentation
If you need additional information that is not directly available in this page, you can query the documentation by asking a question.
Perform an HTTP GET request on the following URL with the `ask` and `goal` query parameters:
```
GET https://docs.mikopbx.com/mikopbx/english/modules/miko/beeline-cloud-pbx-integration.md?ask=&goal=
```
`ask` is the immediate question: it should be specific, self-contained, and written in natural language.
`goal` is what the user is ultimately trying to achieve, the reason they need the answer. Sharing it helps GitBook give you a better, more relevant answer. A goal is most helpful when it describes the outcome the user wants rather than restating the question. For example, with `ask=how do I create an API token`, a goal like `automate deployments from our CI pipeline` lets GitBook tailor the answer to that use case.
The response will contain a direct answer to the question and relevant excerpts and sources from the documentation.
Use this mechanism when the answer is not explicitly present in the current page, you need clarification or additional context, or you want to retrieve related documentation sections.